Cleaver Pasta


Cleavers are one of the easiest springtime greens to forage. Also known as goosegrass, cleavers are a common garden weed and are often found growing alongside disturbed areas. Other than their distinctive foliage, they are most easily identified by their habit of sticking, or cleaving to, just about anything they touch. When you rub your hand over the plant, it feels a little like it is grabbing you back. The older plants become tough, but early in the season, when they’re just coming up, cleavers are abundant and tasty.
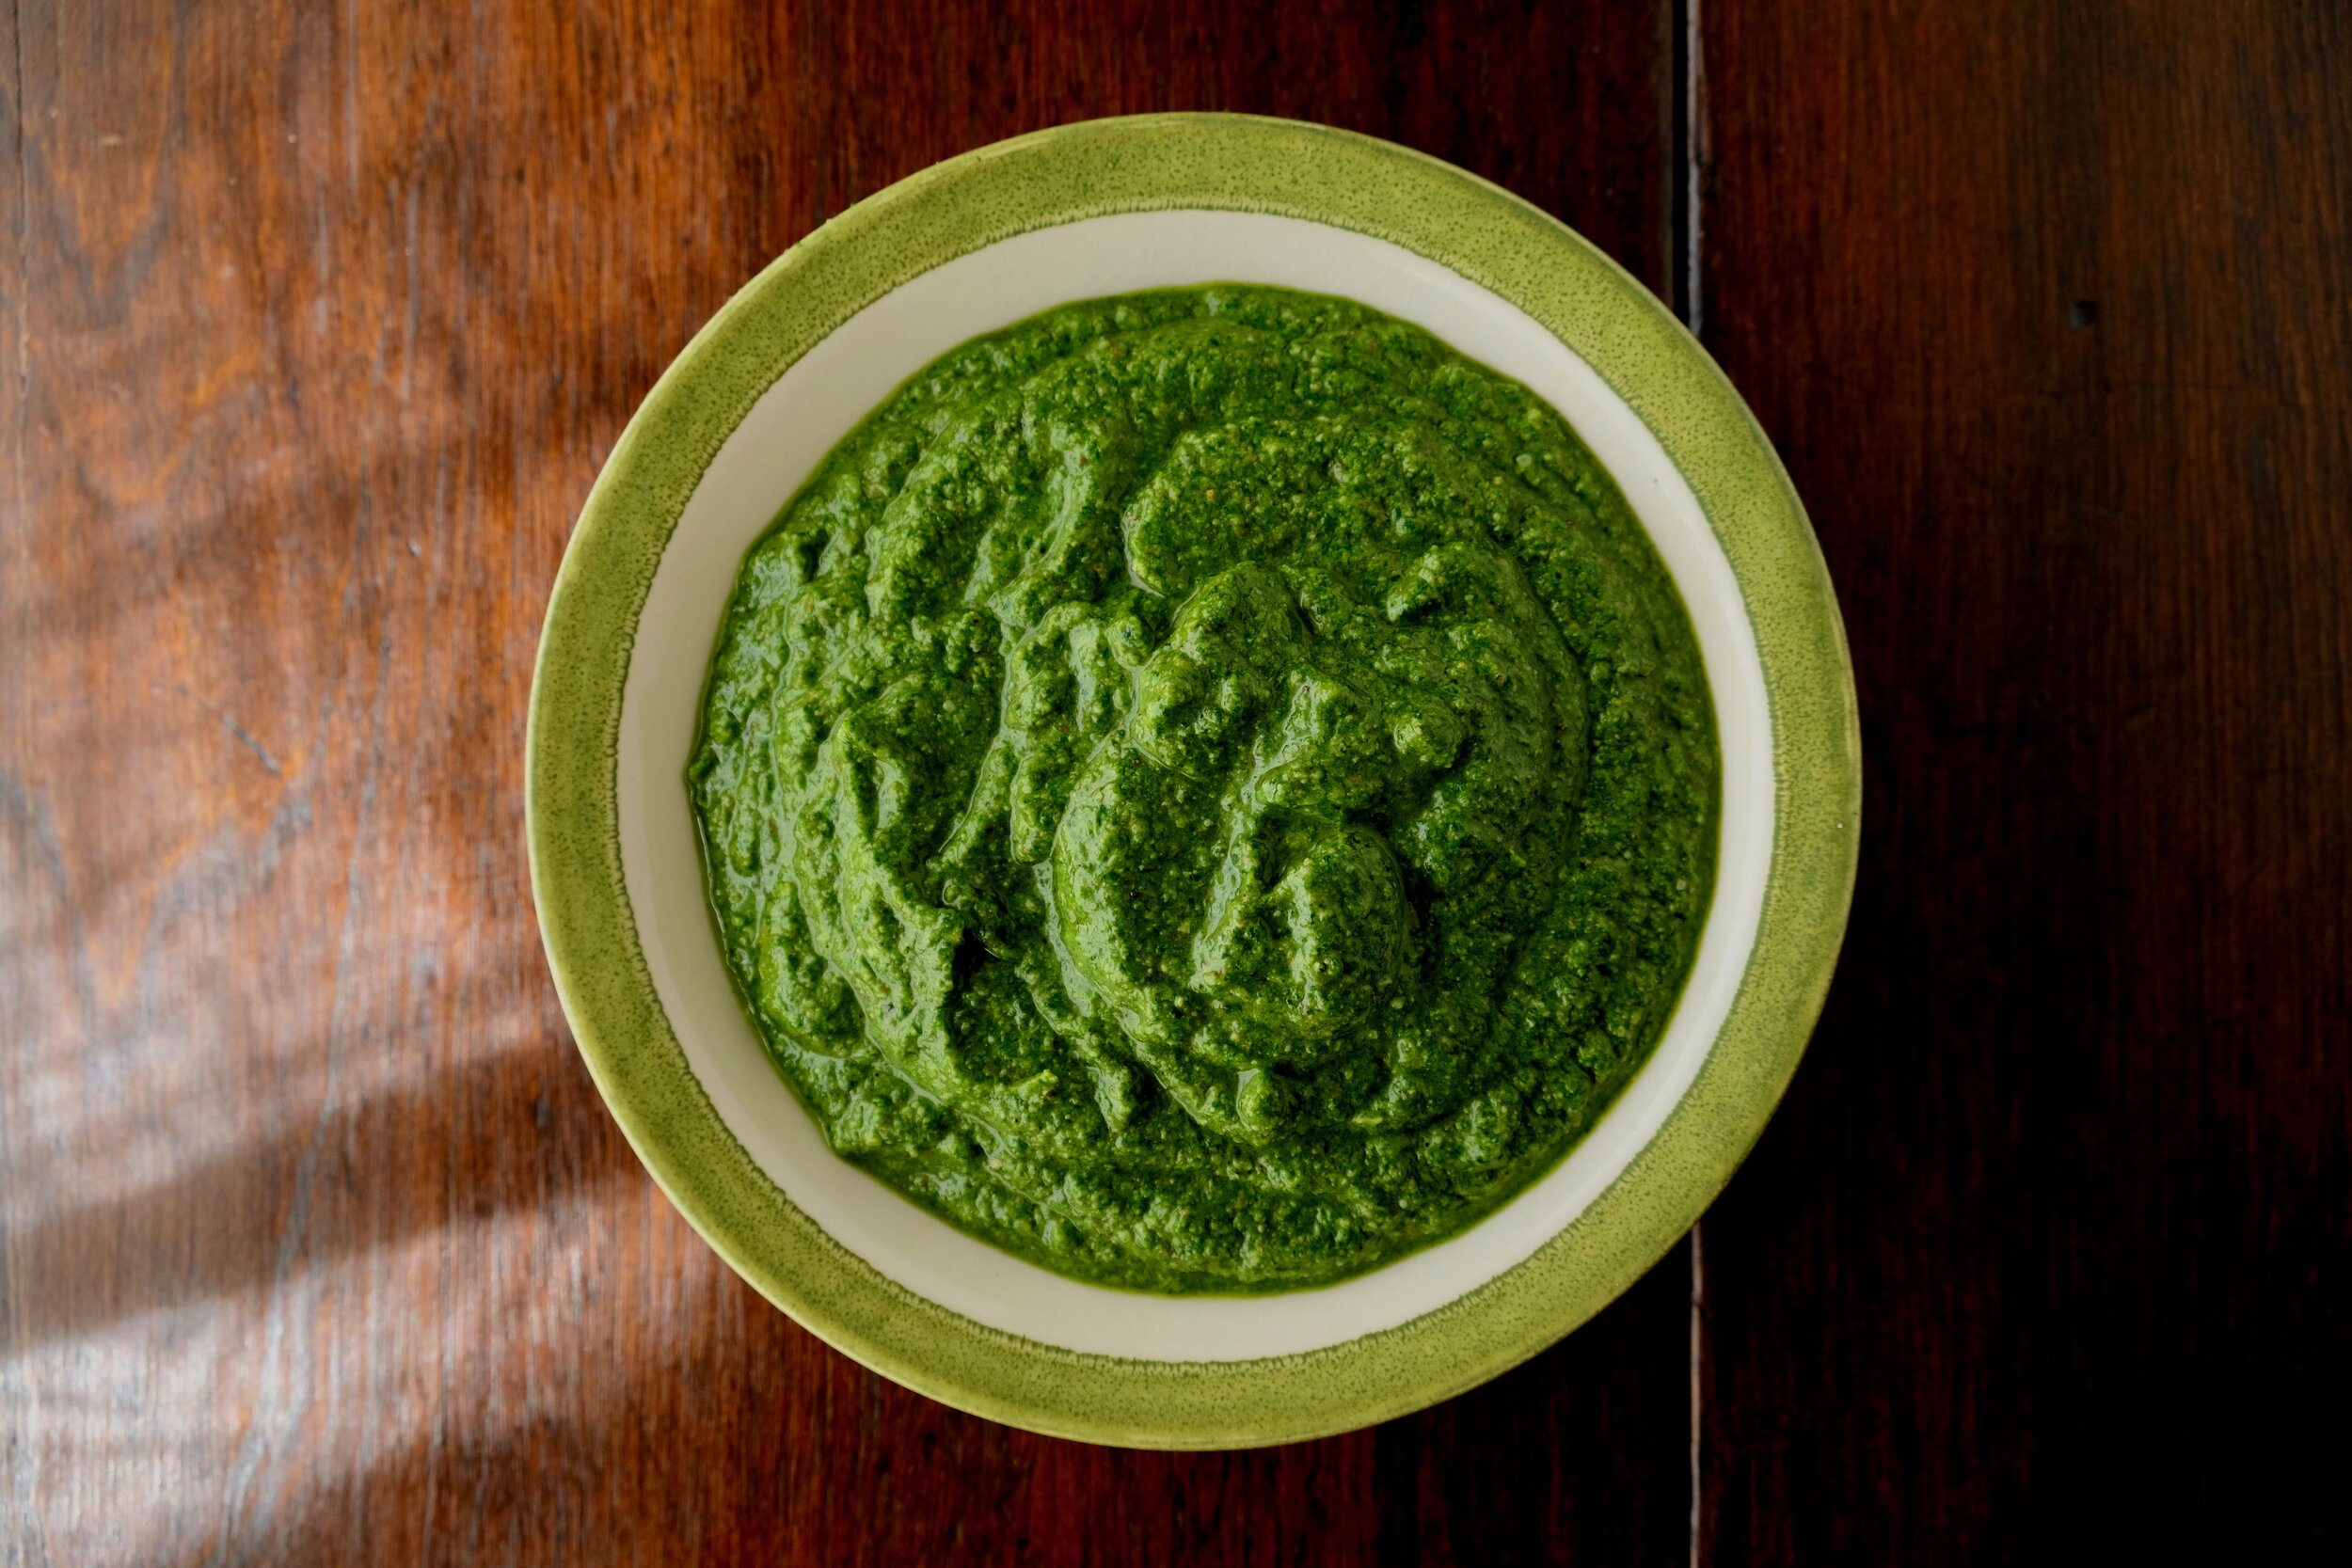
We grabbed a few handfuls of cleavers while we were out walking along the river on our way to go shad fishing the other day. They were growing in a luxuriant clump in dappled sunlight, next to a patch of garlic mustard. Cleavers can be a little stringy, like a bunch of spinach stems, so we wanted to use them in an application that would allow their mild flavor and bright green color to shine, but that would eliminate the annoyance of the stems. We settled on pasta. It turned out to be the perfect spring dish- foraged cleavers, smoked turkey, and garlic mustard pesto with just a little shaved parmesan to round it out.

Cleavers, mixed with garlic mustard
Foraged Cleaver Pasta Recipe
Cook time: 1 hour

Method:
For this recipe, you’ll need about 4 cups fresh cleavers, flour, salt and olive oil.
Blanch cleavers in boiling water for 10-20 seconds, just until they turn dark green, then remove and place in an ice bath.
Once cooled, place cleavers in the strainer and squeeze as much water out of them as possible. Cut the bunch roughly into 1” segments.
Place cleavers in a blender and pulse a few times to break them up a bit. Add in 2 eggs, then blend until fairly smooth.
In a large bowl, make a mound of flour into a volcano shape (roughly 4 cups of flour) and add a pinch of salt and a few splashes of olive oil to the center. Add in the egg/cleaver mixture to center. Use a fork to work in flour from the sides of the bowl, and continue until the dough doesn't take up any more flour. Scrape aside any excess flour.
Work dough for a few minutes until you have the right consistency- the edges should not look dry or crumbly and the dough shouldn’t be sticking to your hands. Add a few drops of cold water as needed if dough is too dry, add a small amount of flour if dough is too sticky.
Once dough is the right consistency, wrap with plastic wrap and refrigerate for a few hours, or overnight. The dough needs to rest for an hour minimum for best results.
Roll out dough and cut to desired shape.