Venison Bacon v. 2
I don't miss much about working in a restaurant kitchen. Honestly, I can count all the things I miss on one hand, while all the things I don't miss would fill a book. But access to a shelf of culinary chemicals and niche, hard to find ingredients is one of the few things I do kinda miss.
As passe as “modernist cuisine”- making foams and fluid gels- has become, being able to manipulate, change and reinvent food was always fun to me. It was challenging, but also invited out-of-the-box thinking. It was problem solving with food.
Our first venison bacon recipe was an attempt to emulate one of the few ingredients that our wild game diet does not include- pork. Though the core concept was accomplished, (a smoky, sweet, salty, crispy, bacon-y protein) the venison is still missing the silky fattiness that makes bacon, well, bacon.
One could argue that a trip further south to hunt feral pigs would be the solution to the lack of pork in our freezer (and that is on the list of things to do sooner rather than later). But being impatient and stubborn, I turned to my small collection of culinary chemicals.
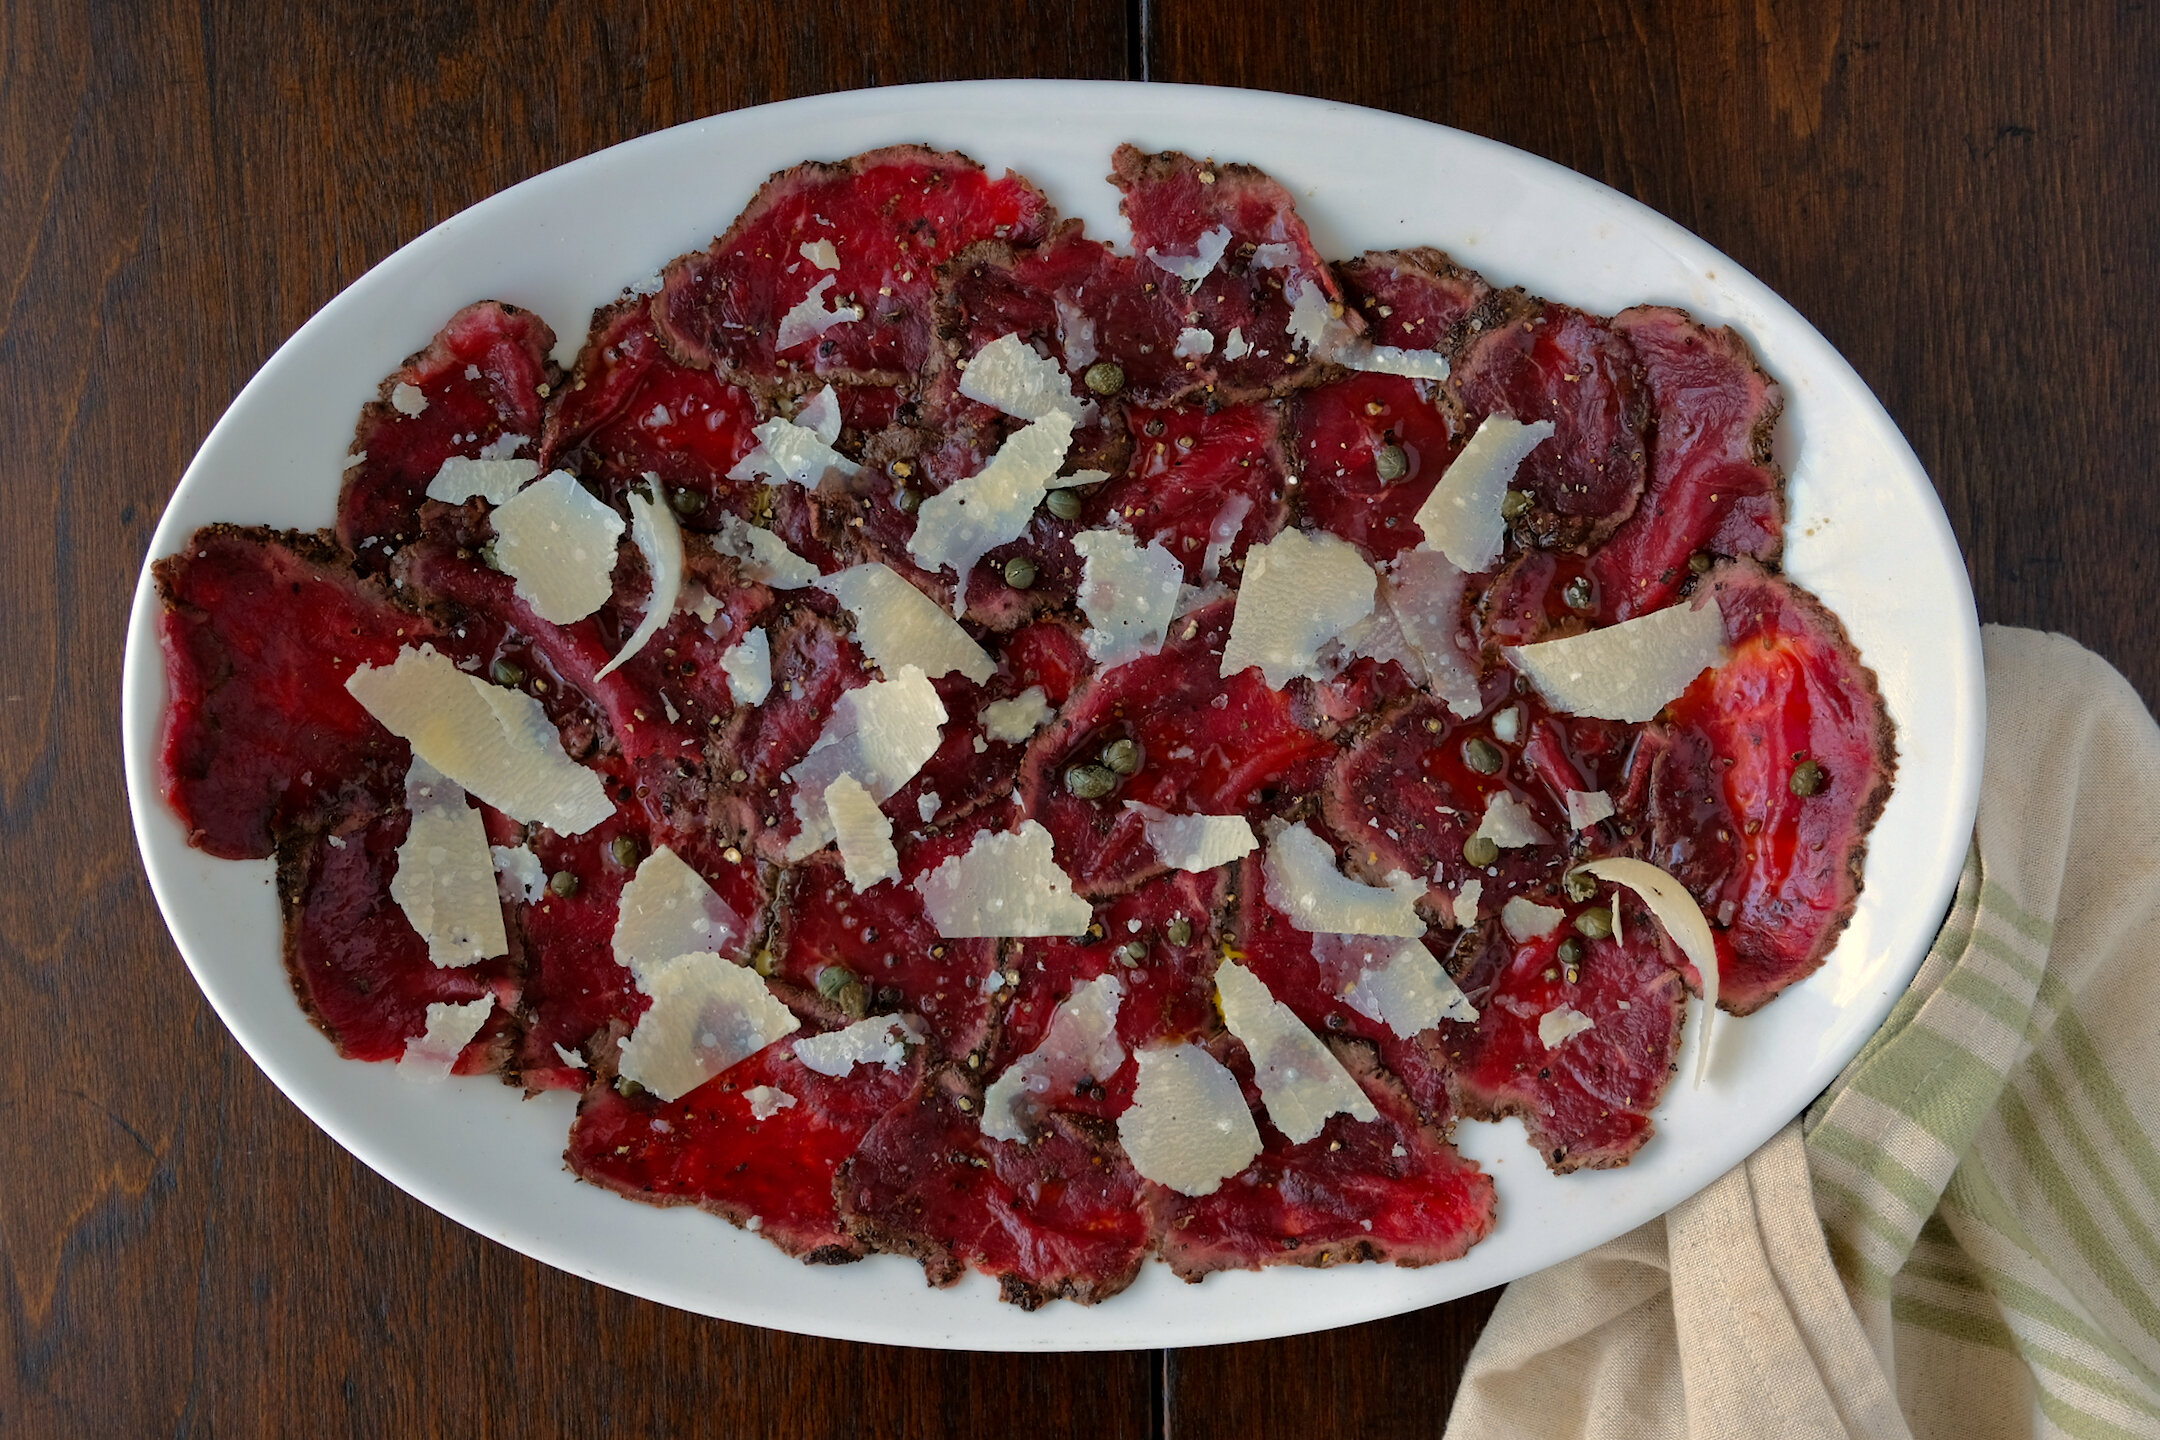
Meat glue, aka Activa RM, is a natural enzyme used to bond proteins. You can do some really fun stuff with it. It gets a bad rap because it is (allegedly) sometimes used to bond lesser cuts of meat together to counterfeit more expensive cuts. I have personally never seen this done, and quite honestly, a bunch of beef trim loosely bonded together is not a good counterfeit for the real thing. It's one of those “if you can't tell it's your own fault” kind of situations, much like the “skate wing for scallops” myth that won’t seem to die.
That being said, being upfront about what you're doing is always important. I'm using meat glue to bond pork fat to venison to simulate pork belly. This recipe could be done without the glue, but the visuals wouldn't be the same.
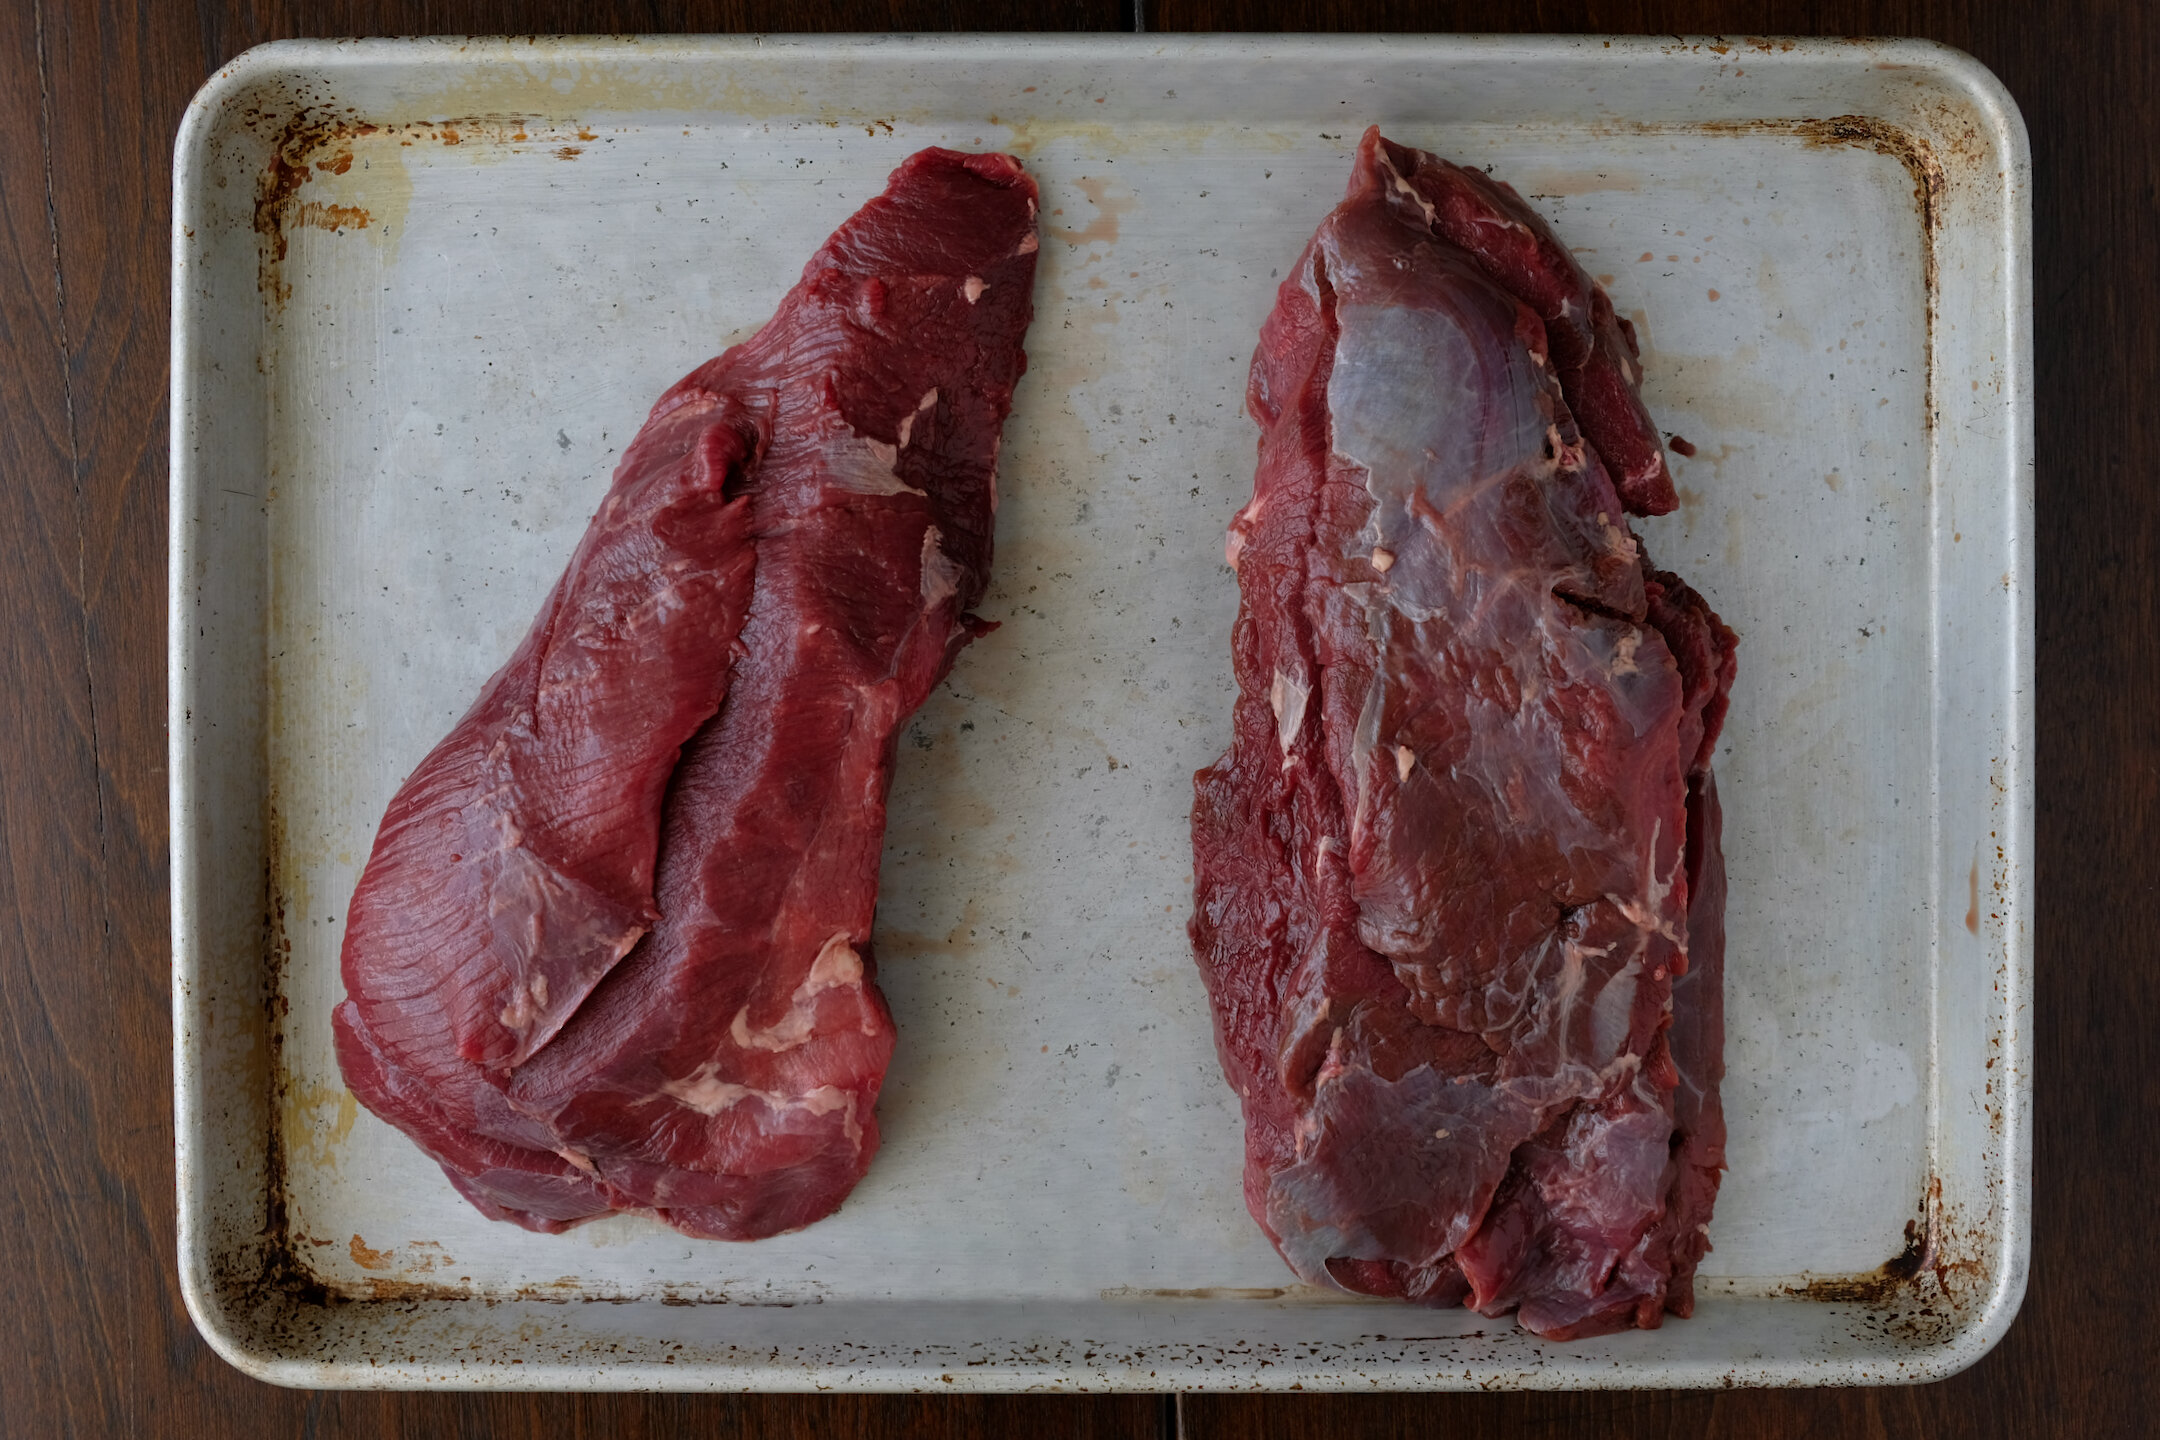
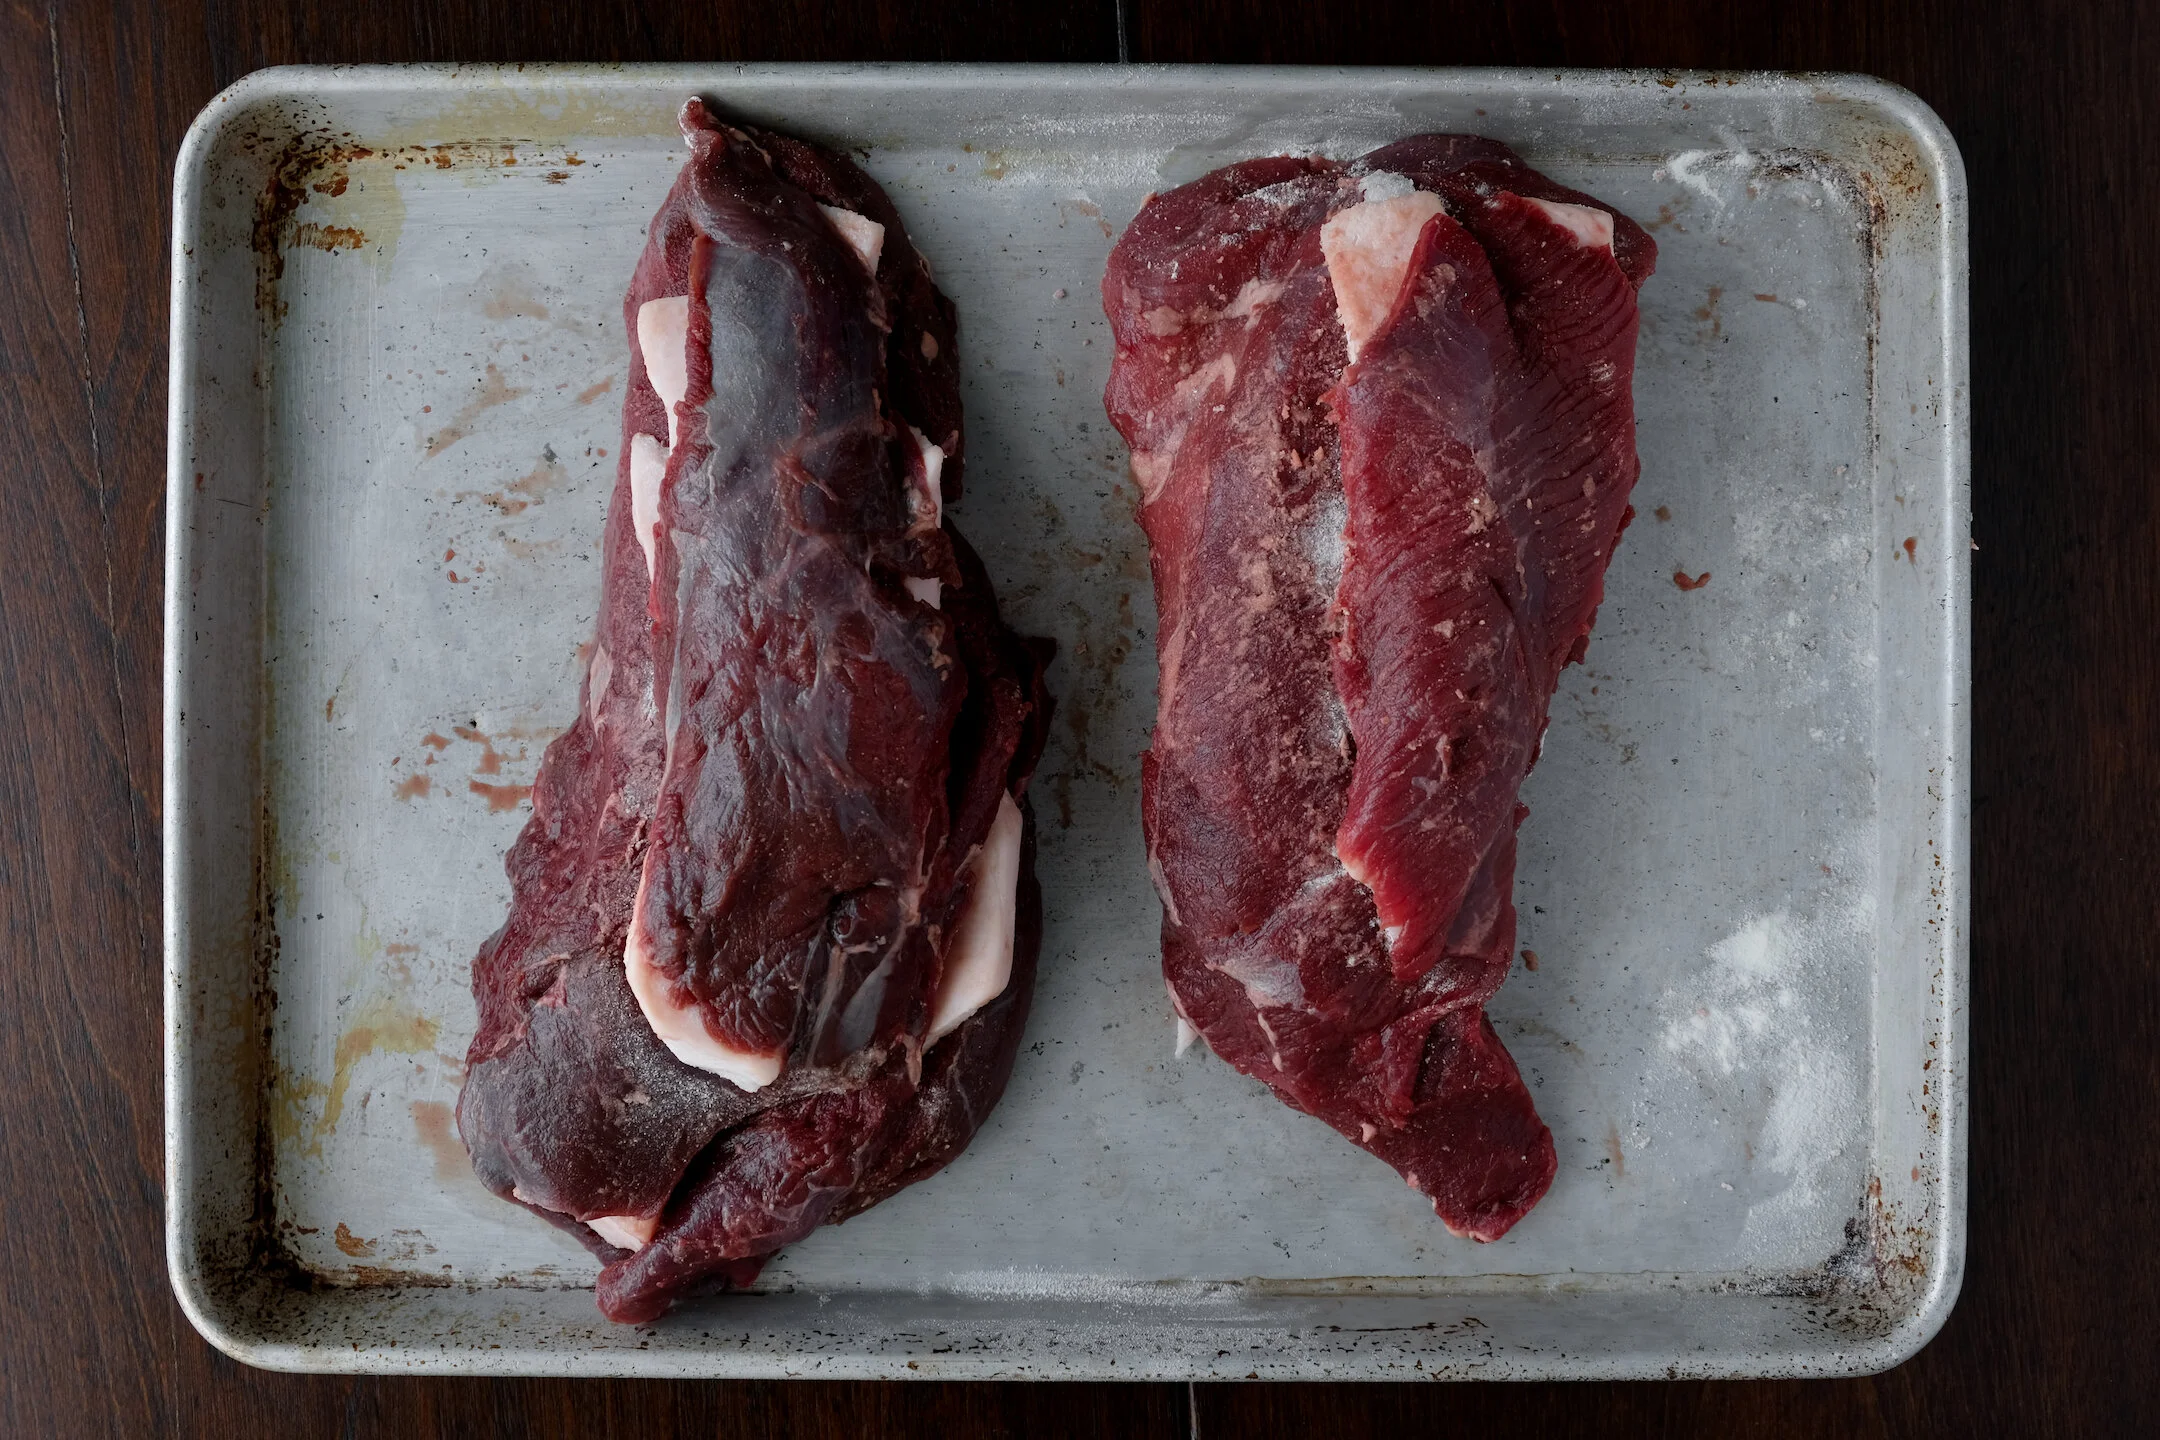
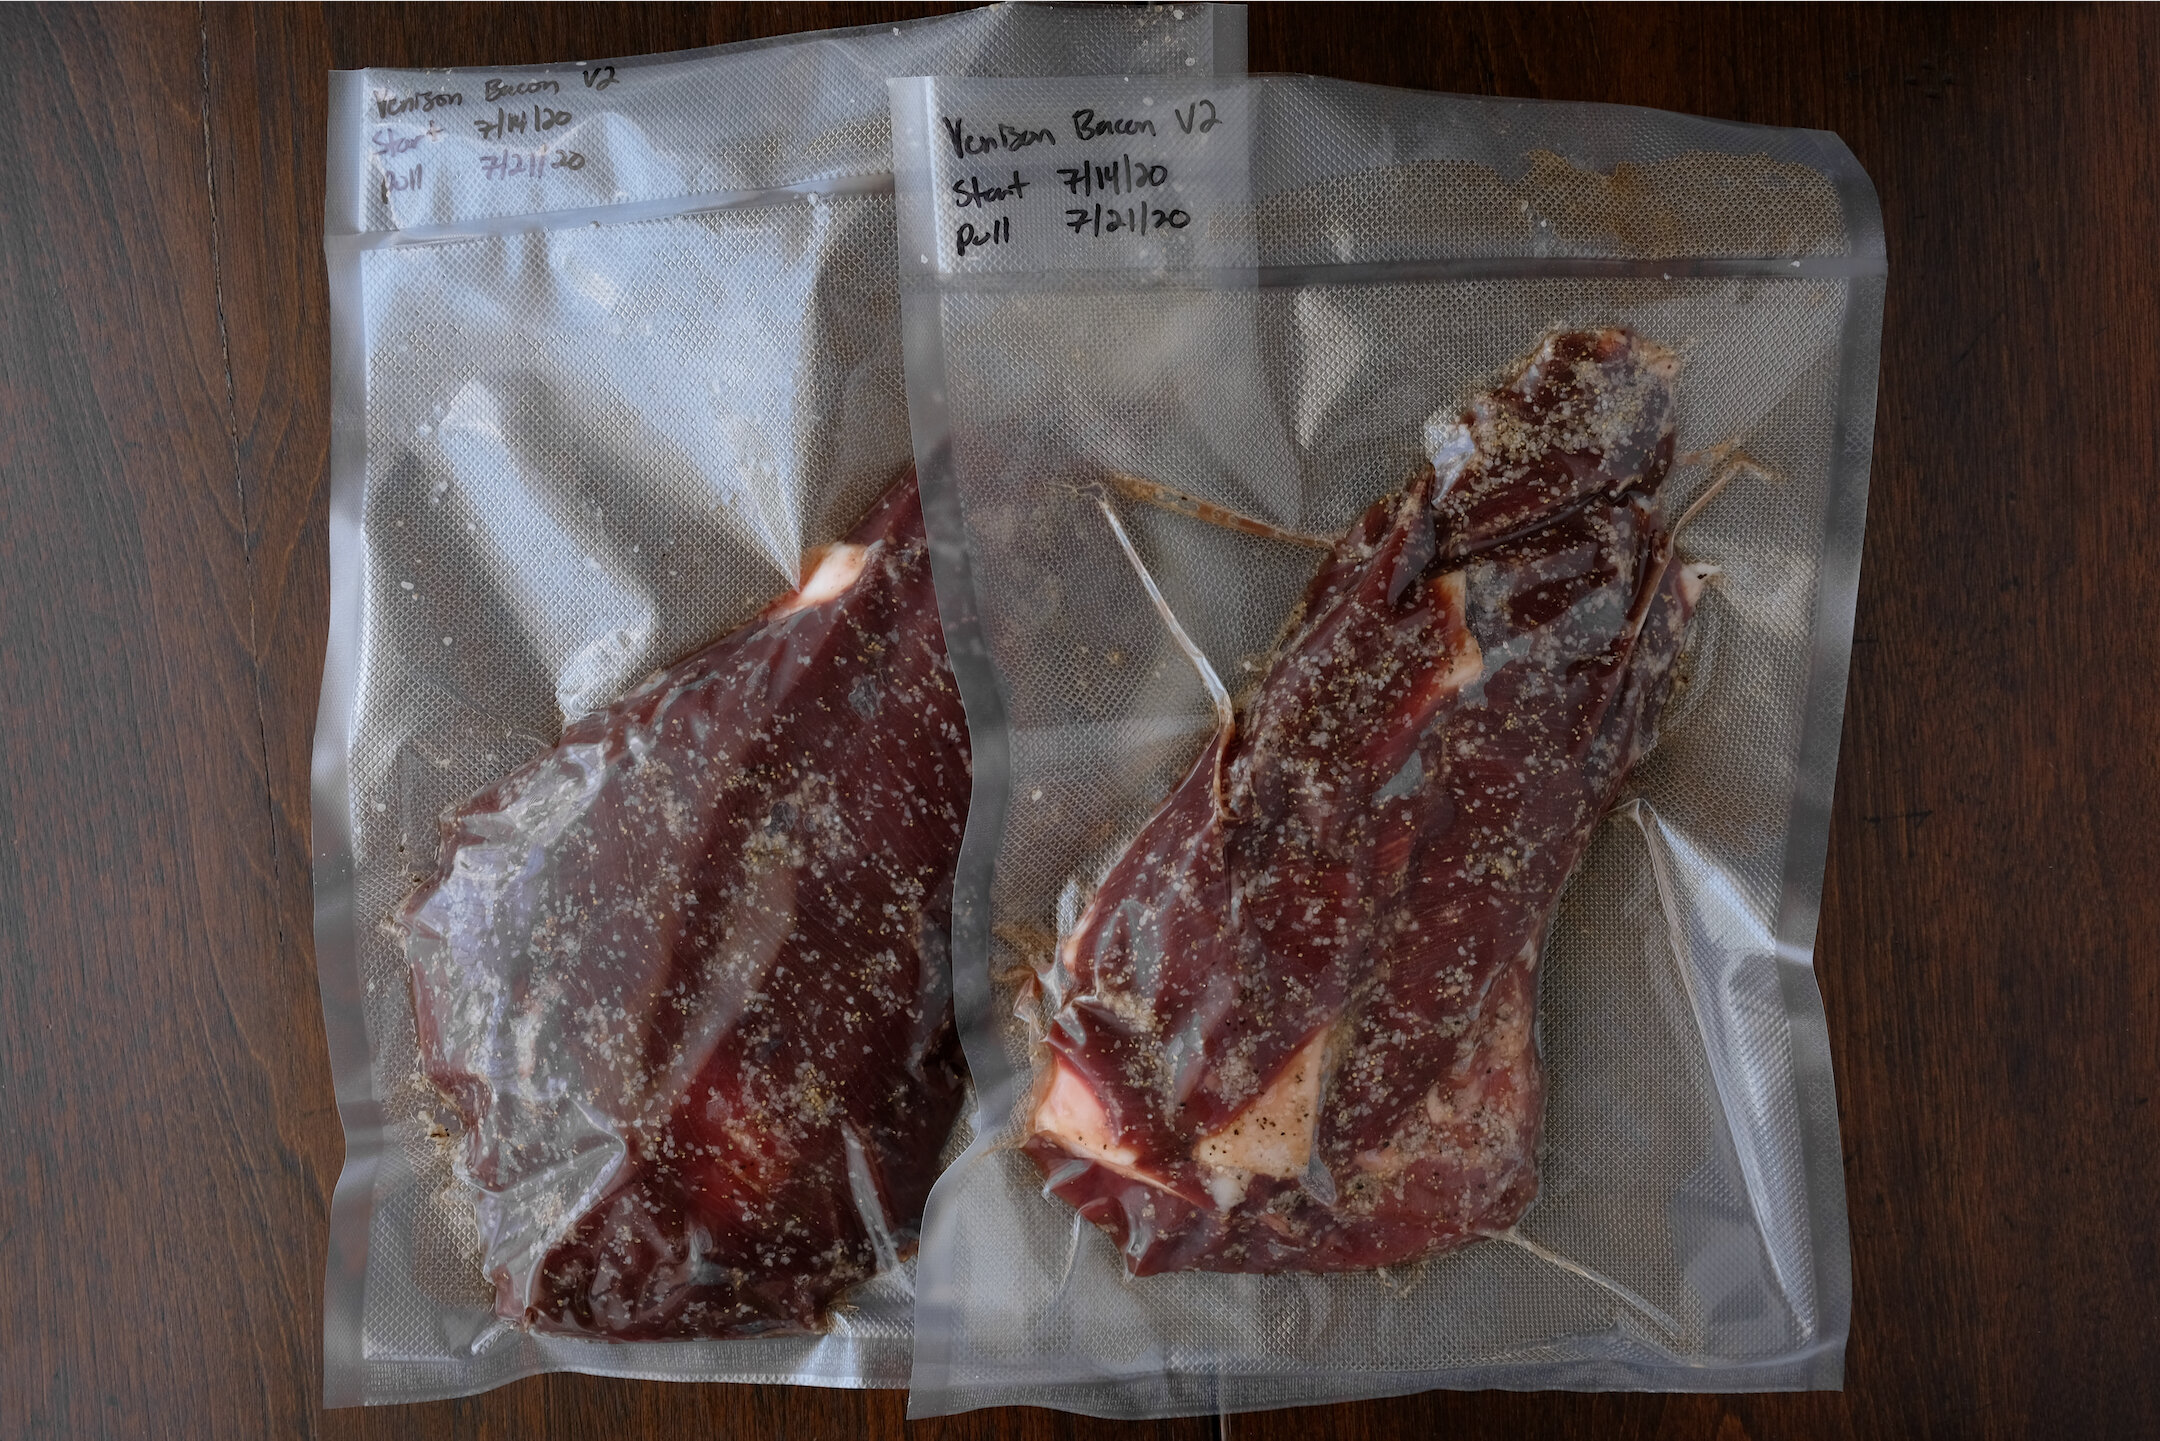
I basically butterflied a venison outside round a few times, dusted it with the meat glue and inserted pork fat. After applying the cure, I vacuum sealed the whole thing. The vac sealing is a very efficient way to ensure the meat cures evenly, but it also applies even pressure to the two meats to make sure they form a bond.
From there, the process is the same as our first recipe. Cure, rinse, smoke.
The results?
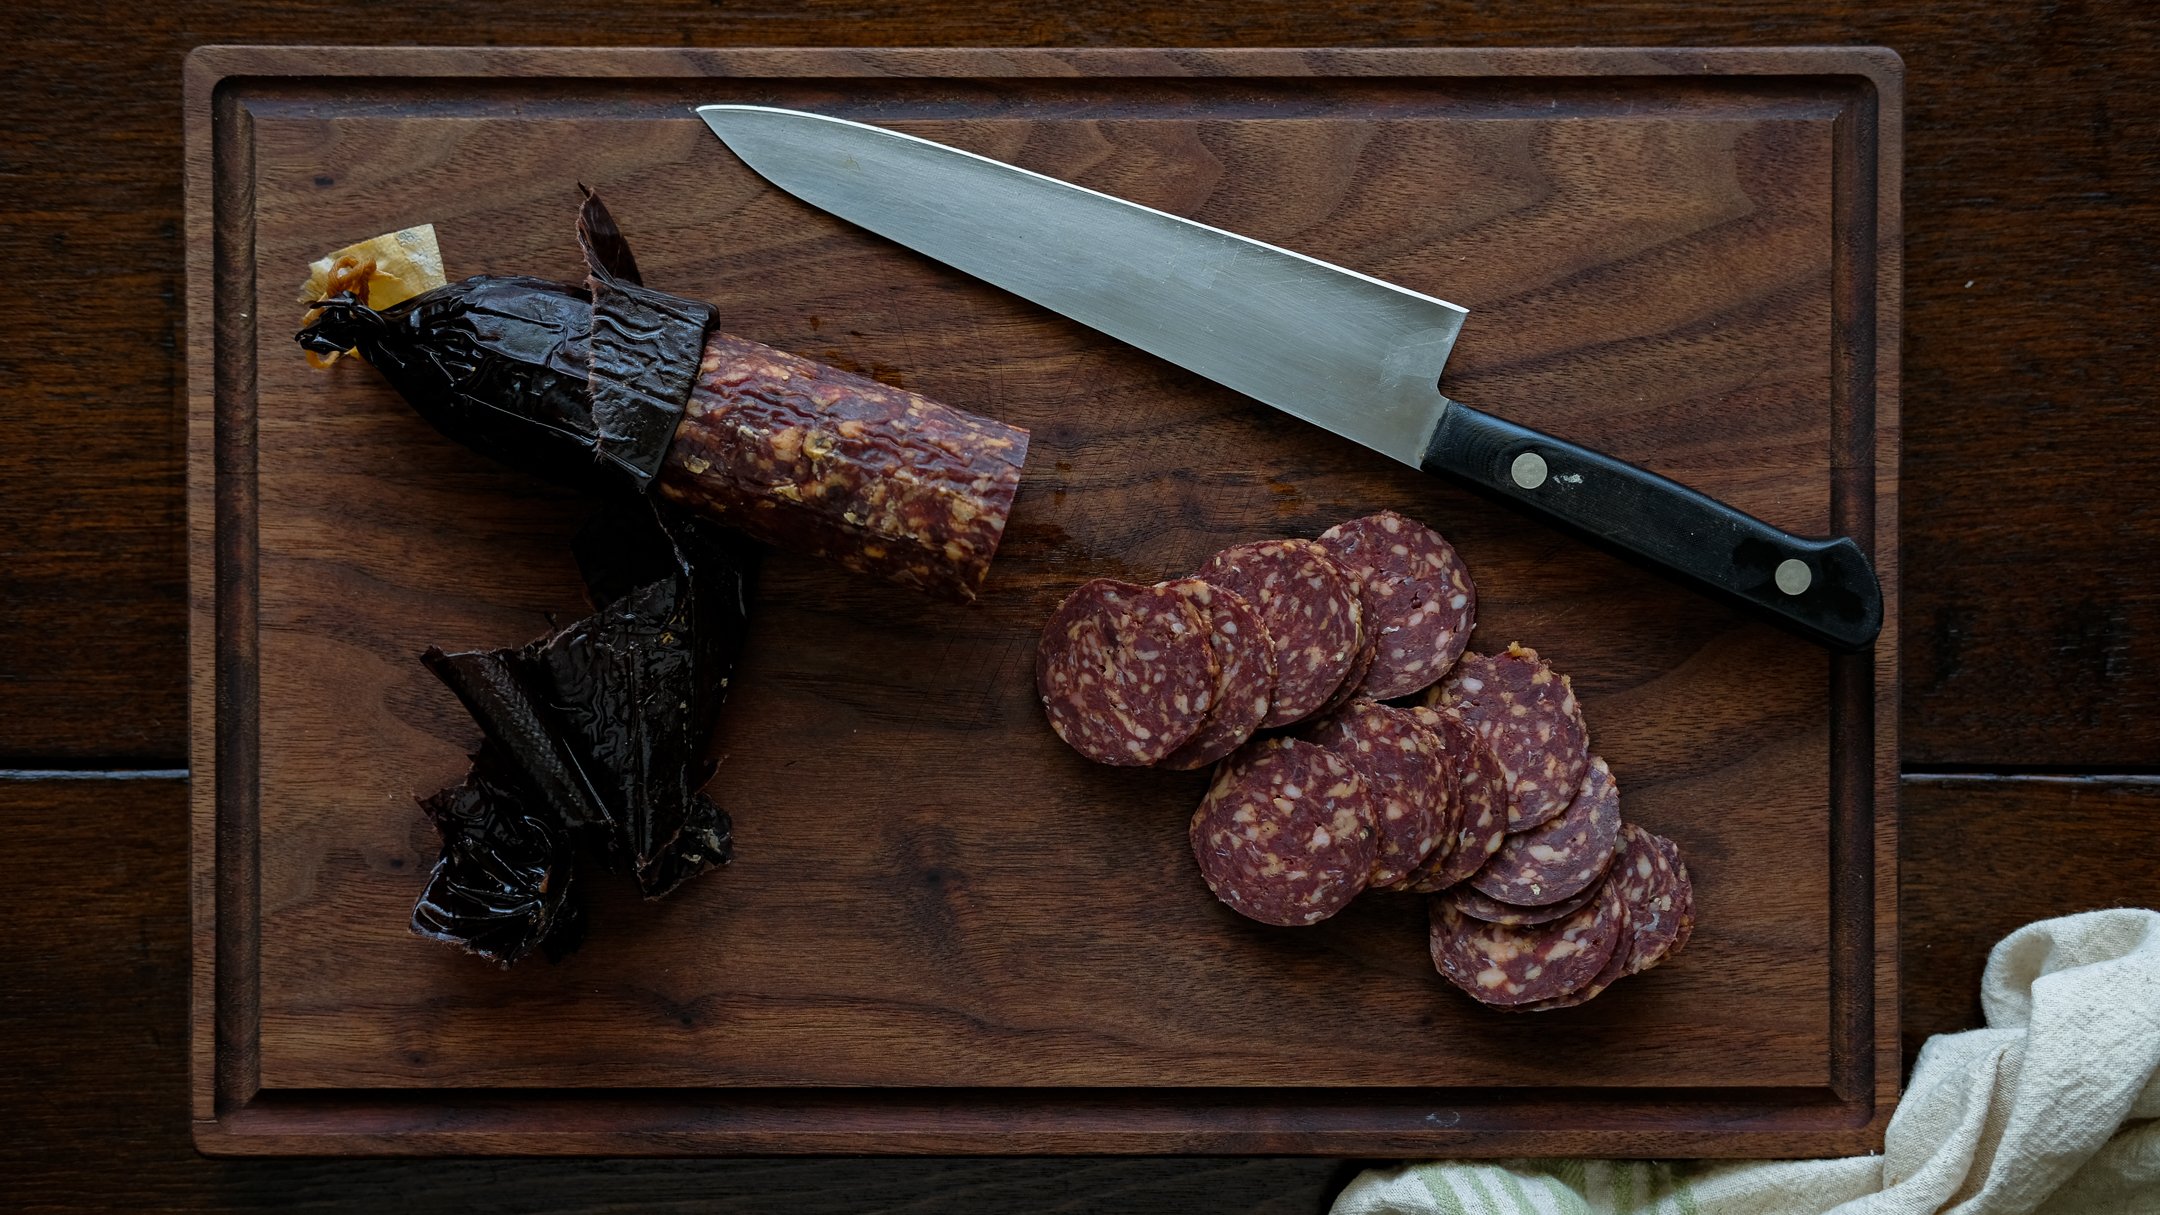
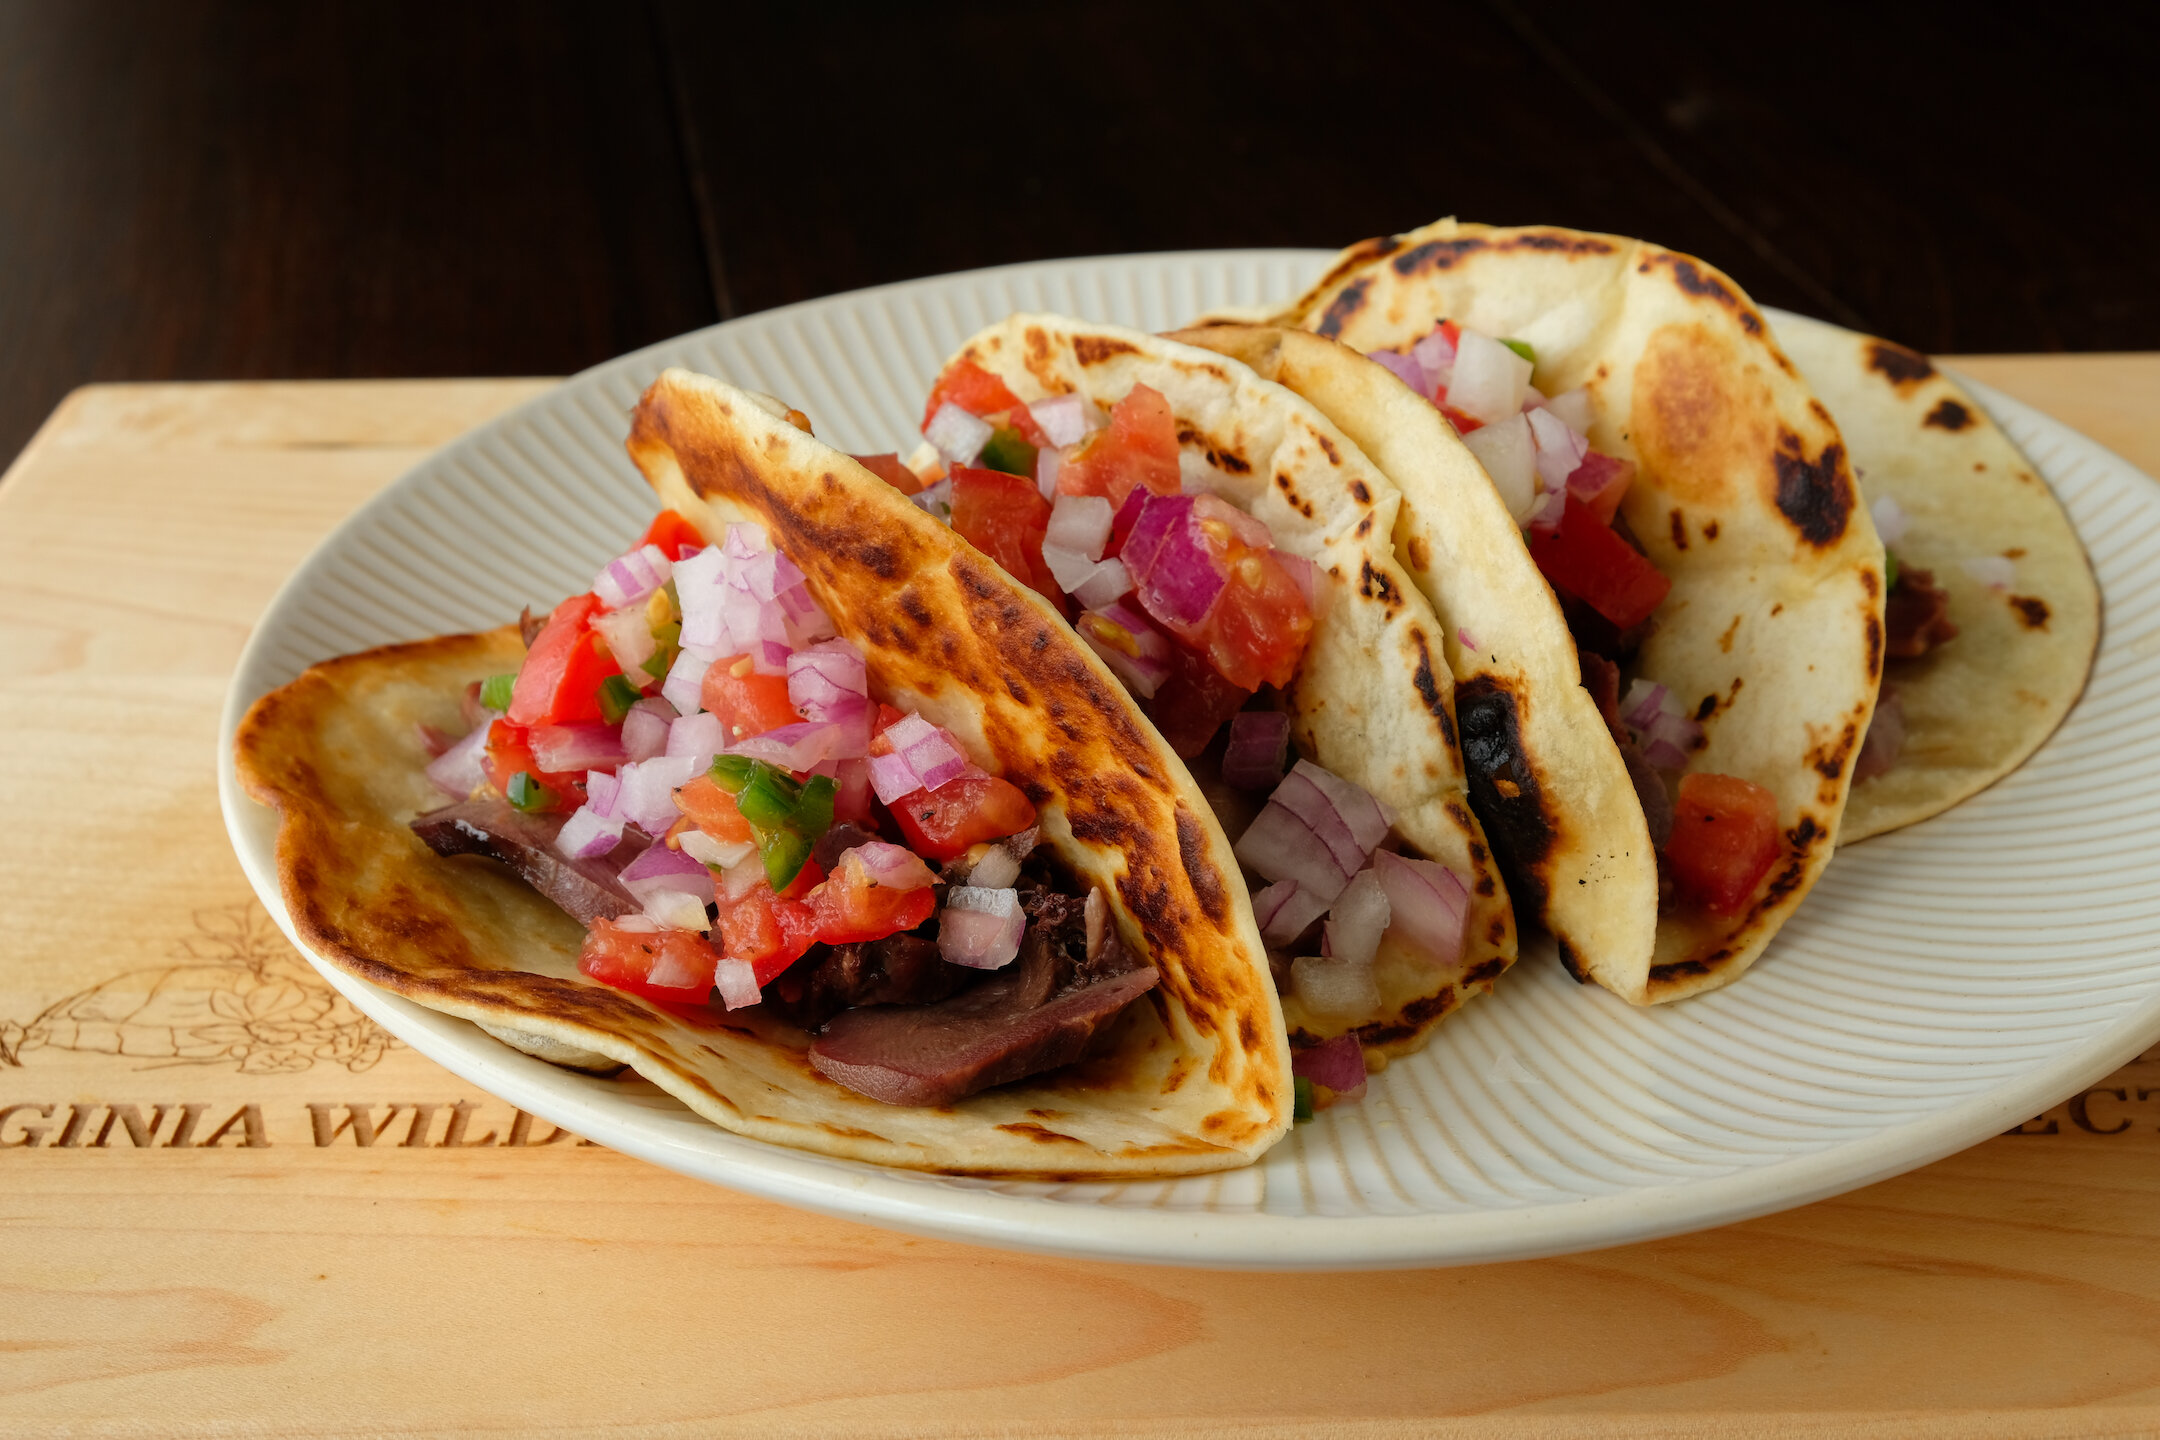
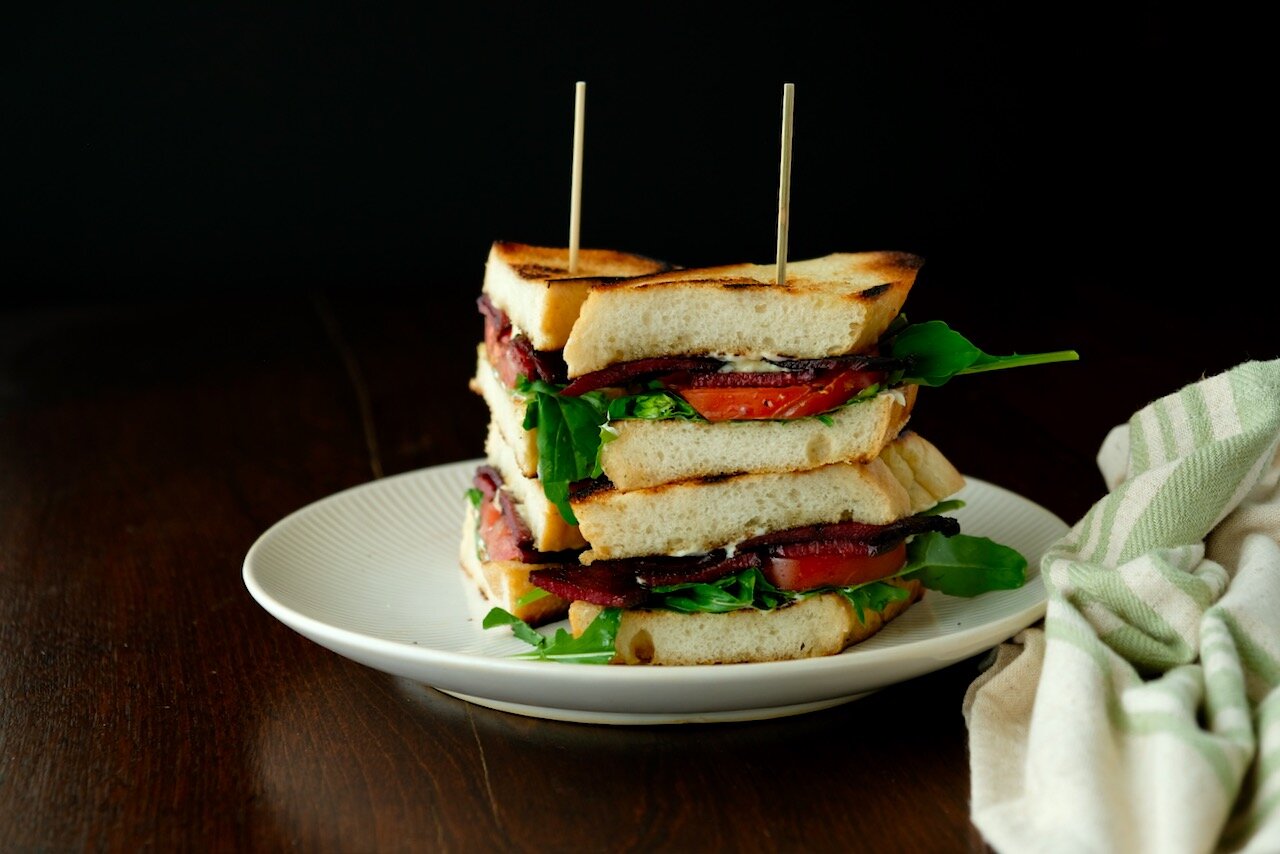
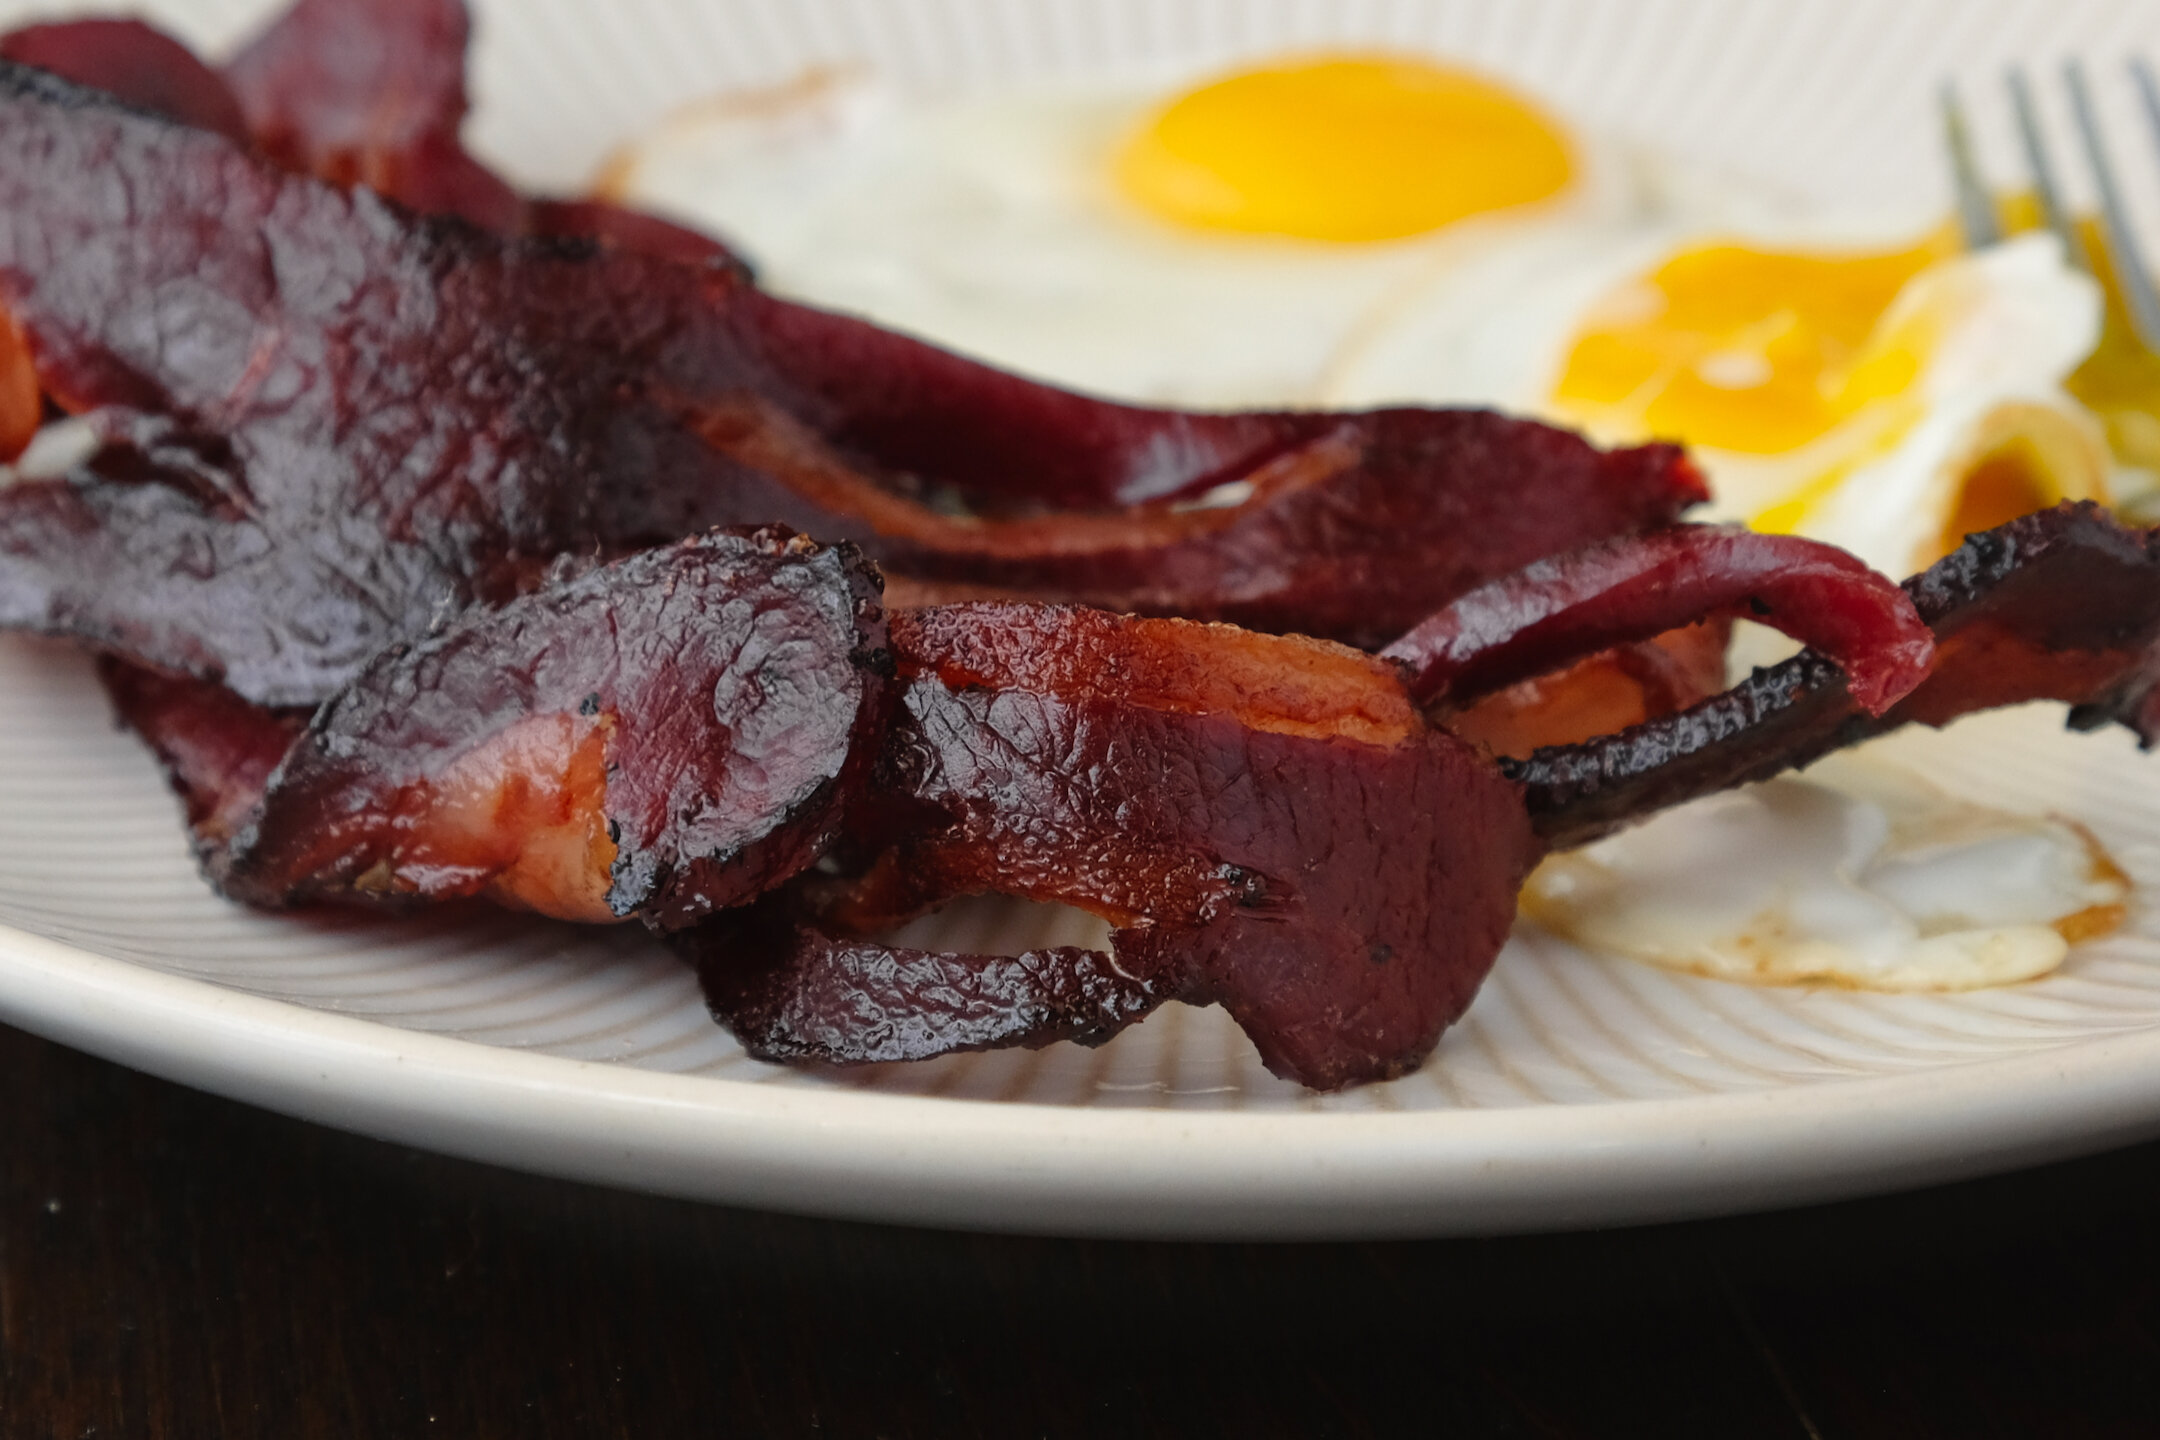
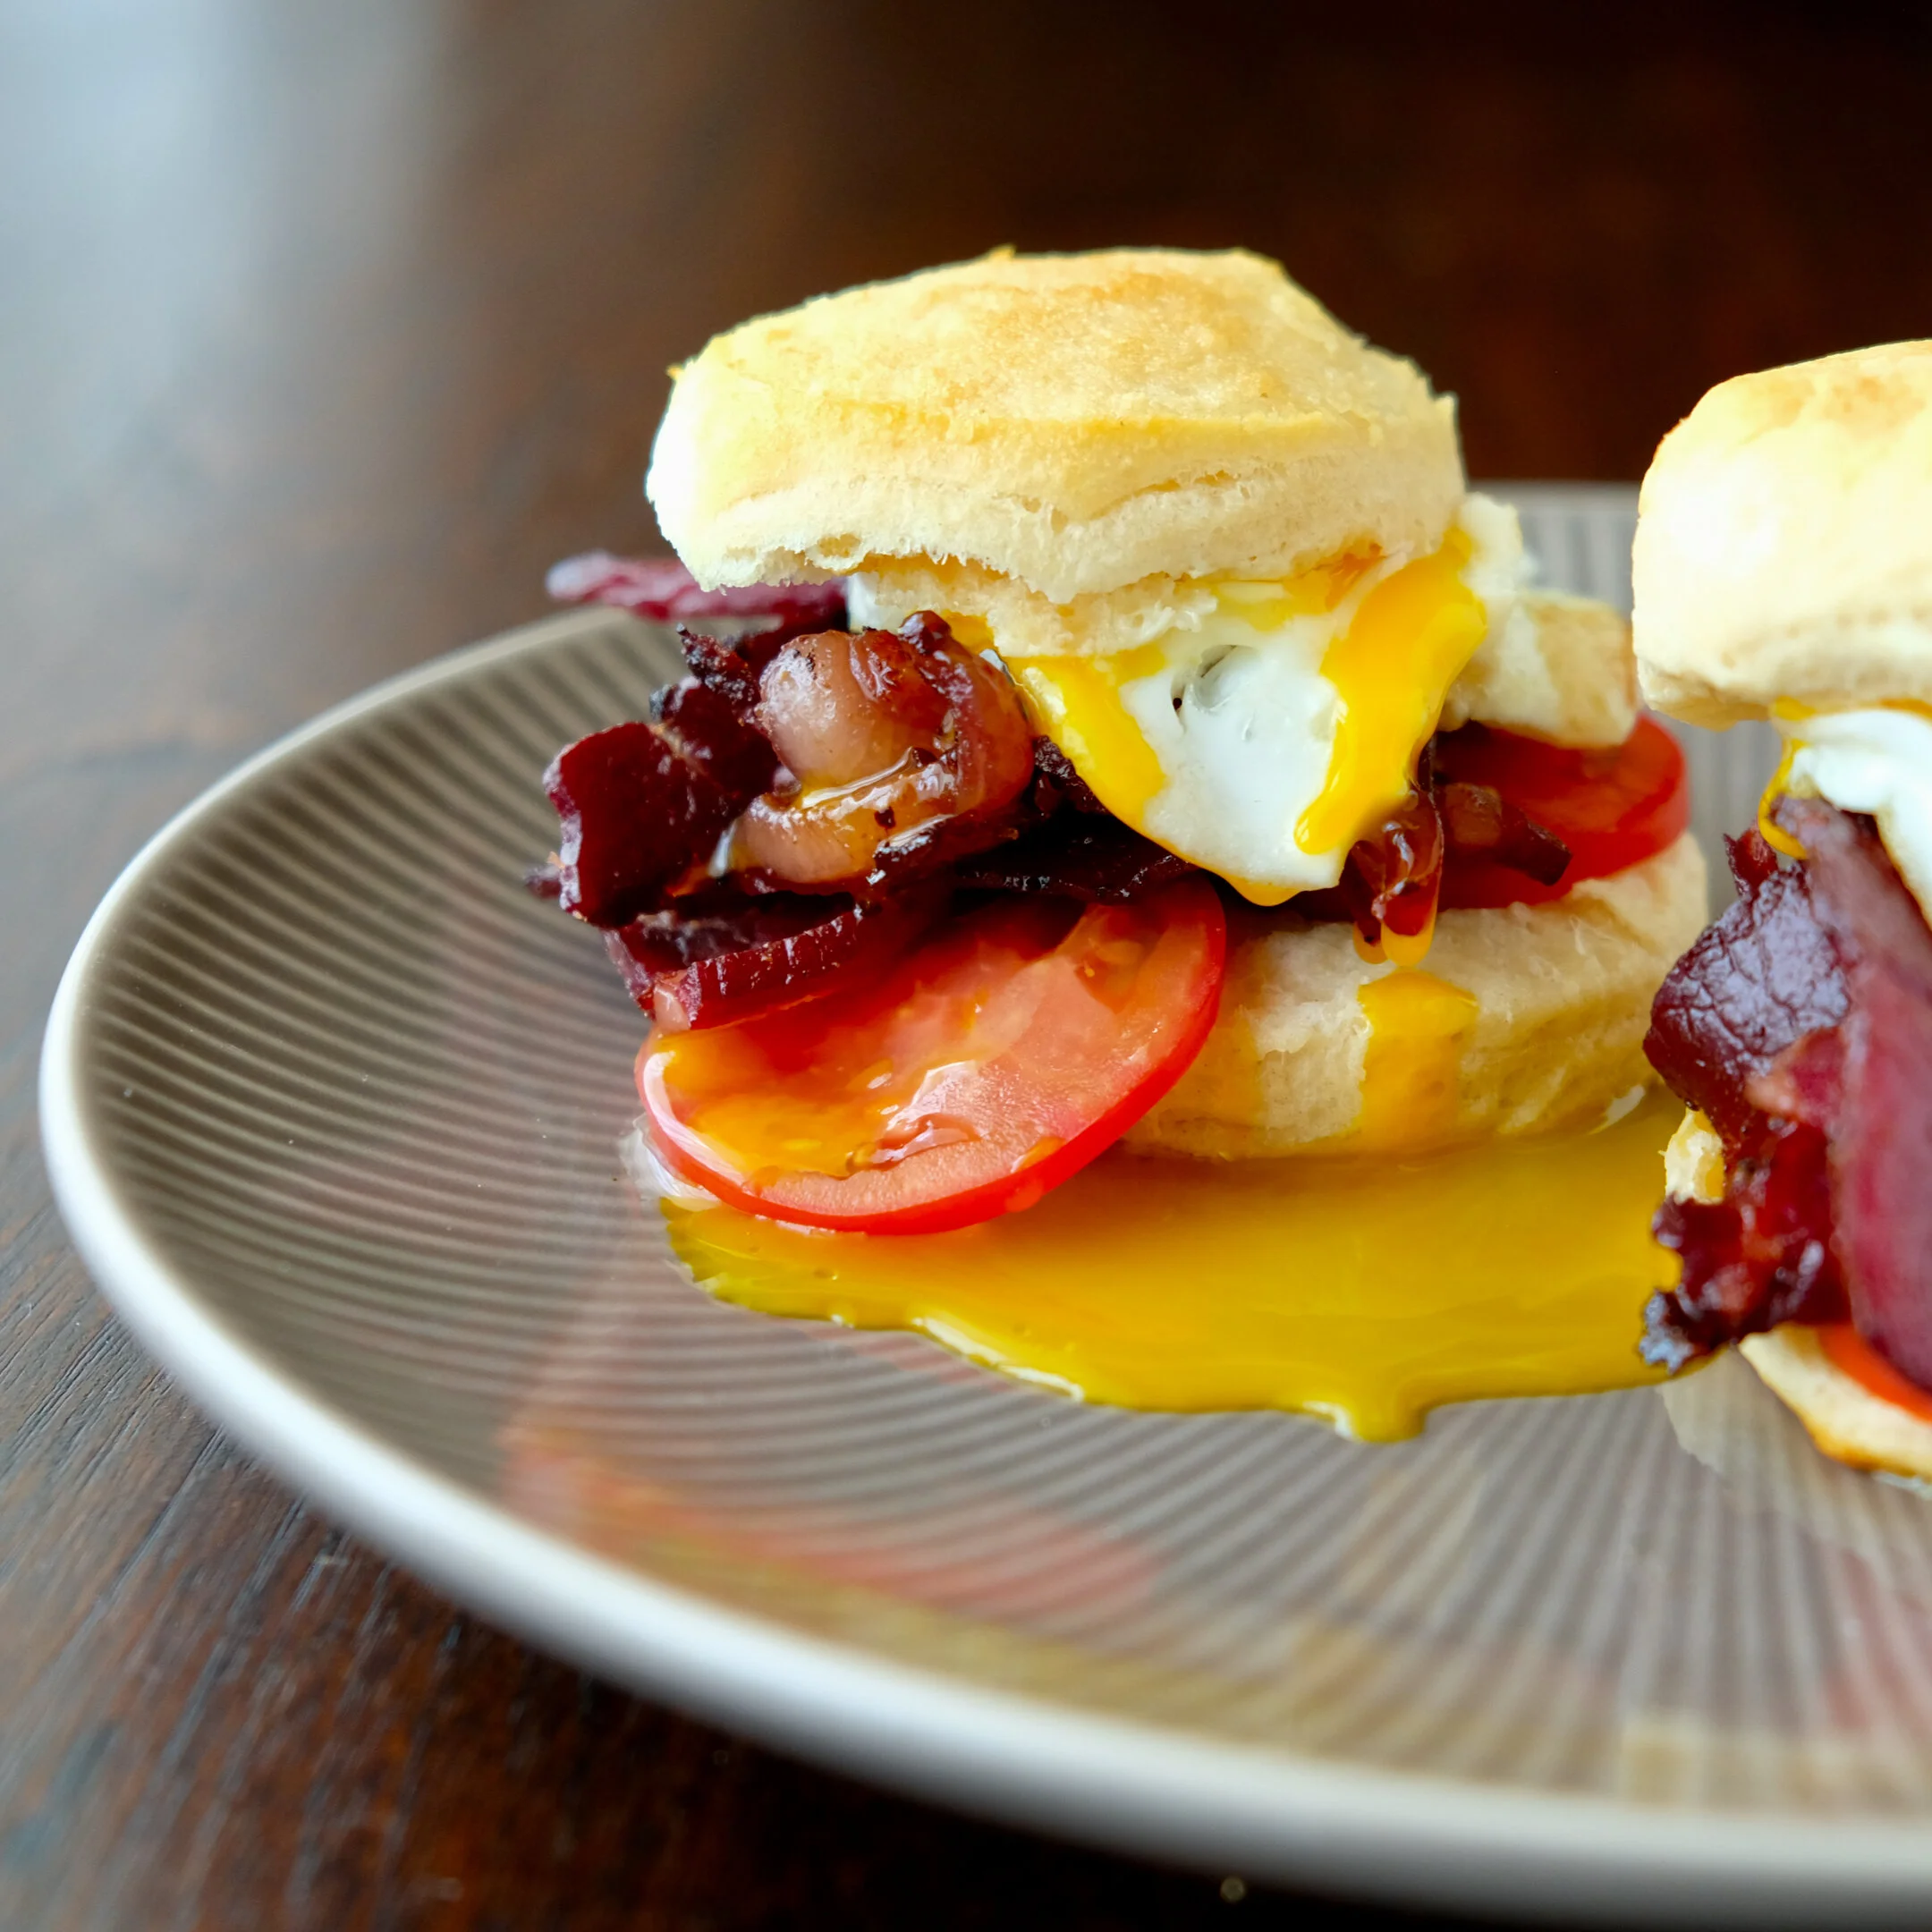
I can’t believe it’s not bacon!? The added pork fat not only makes this look more like bacon, it makes it taste like bacon. The silky, smoky fat makes all the difference. The richness is contrasted by the leanness of the venison- you can definitely still tell that it's venison, but you can use it in any application you would want bacon for. This is the best of both worlds- flavorful, lean red meat and smoky creamy pork fat.
One thing we will want to improve on for this venison bacon recipe is the distribution of the fat to more closely imitate pork belly. Thinner, more tapered slabs of pork fat will visually improve on the bacon illusion.
Something else we want to try in the future (when the heat index isn't 100+) is to cold smoke the bacon and leave it raw. We’ll be revisiting this recipe a few more times for sure.
Venison Bacon Recipe
Prep 30 minutes
Inactive 7 days
Cook time 5-8 hours
Like all of our recipes for cured meats, these measurements are by weight, not volume. This is for food safety reasons as well as to ensure that you come out with something tasty. Wild game is an amazing resource, but its inherent variability means that everyone’s outside round roast is going to be a very different weight, which impacts how much cure you will need. Weigh the meat you are planning on curing, and then do the math to figure out how much you are going to need of each ingredient. Kitchen scales are cheap, and weighing the ingredients is no more of a hassle than having to wash the same set of teaspoons over and over again.
Ingredients:
to assemble:
1 venison outside round
Strips of pork fatback, cut ¼-½” thick
to cure:
2.5% salt
1% sugar
1% maple syrup
.25% black pepper, coarse
Method
Trim the outside round roast of connective tissue and silverskin. Using a sharp knife, “butterfly” the outside round by making deep cuts with the grain of the meat, almost but not quite all the way through. Depending on the size of the roast, you will want to do 3-4 cuts- the more the better.
Use a small, fine mesh sieve to dust both sides of the cuts with meat glue, then dust the pork fat on both sides. Place the pork fat into the butterfly cuts and trim off any excess to fit the overall shape of the outside round. Weigh the meat and use the weight of the meat to calculate the amount of each ingredient in the cure.
Mix the cure ingredients and evenly coat the venison. Place the assembled “bacon” roast in a ziplock or vacuum bag and remove as much air as possible. Refrigerate for 7 days. Rotate daily.
At the end of the curing period, rinse with cold water and pat dry (don't worry if some of the cure remains on the venison).
Smoke on a low heat setting for 4-6 hours, then increase the temperature for a final 1-2 hours until the internal temperature hits 140F.
*We used a Camp Chef pellet grill set at 160F for 4-5 hours, then increased the temperature to 250F for the final hour. Using the built in probes and wifi to monitor remotely made the process extremely hands off and pleasant.

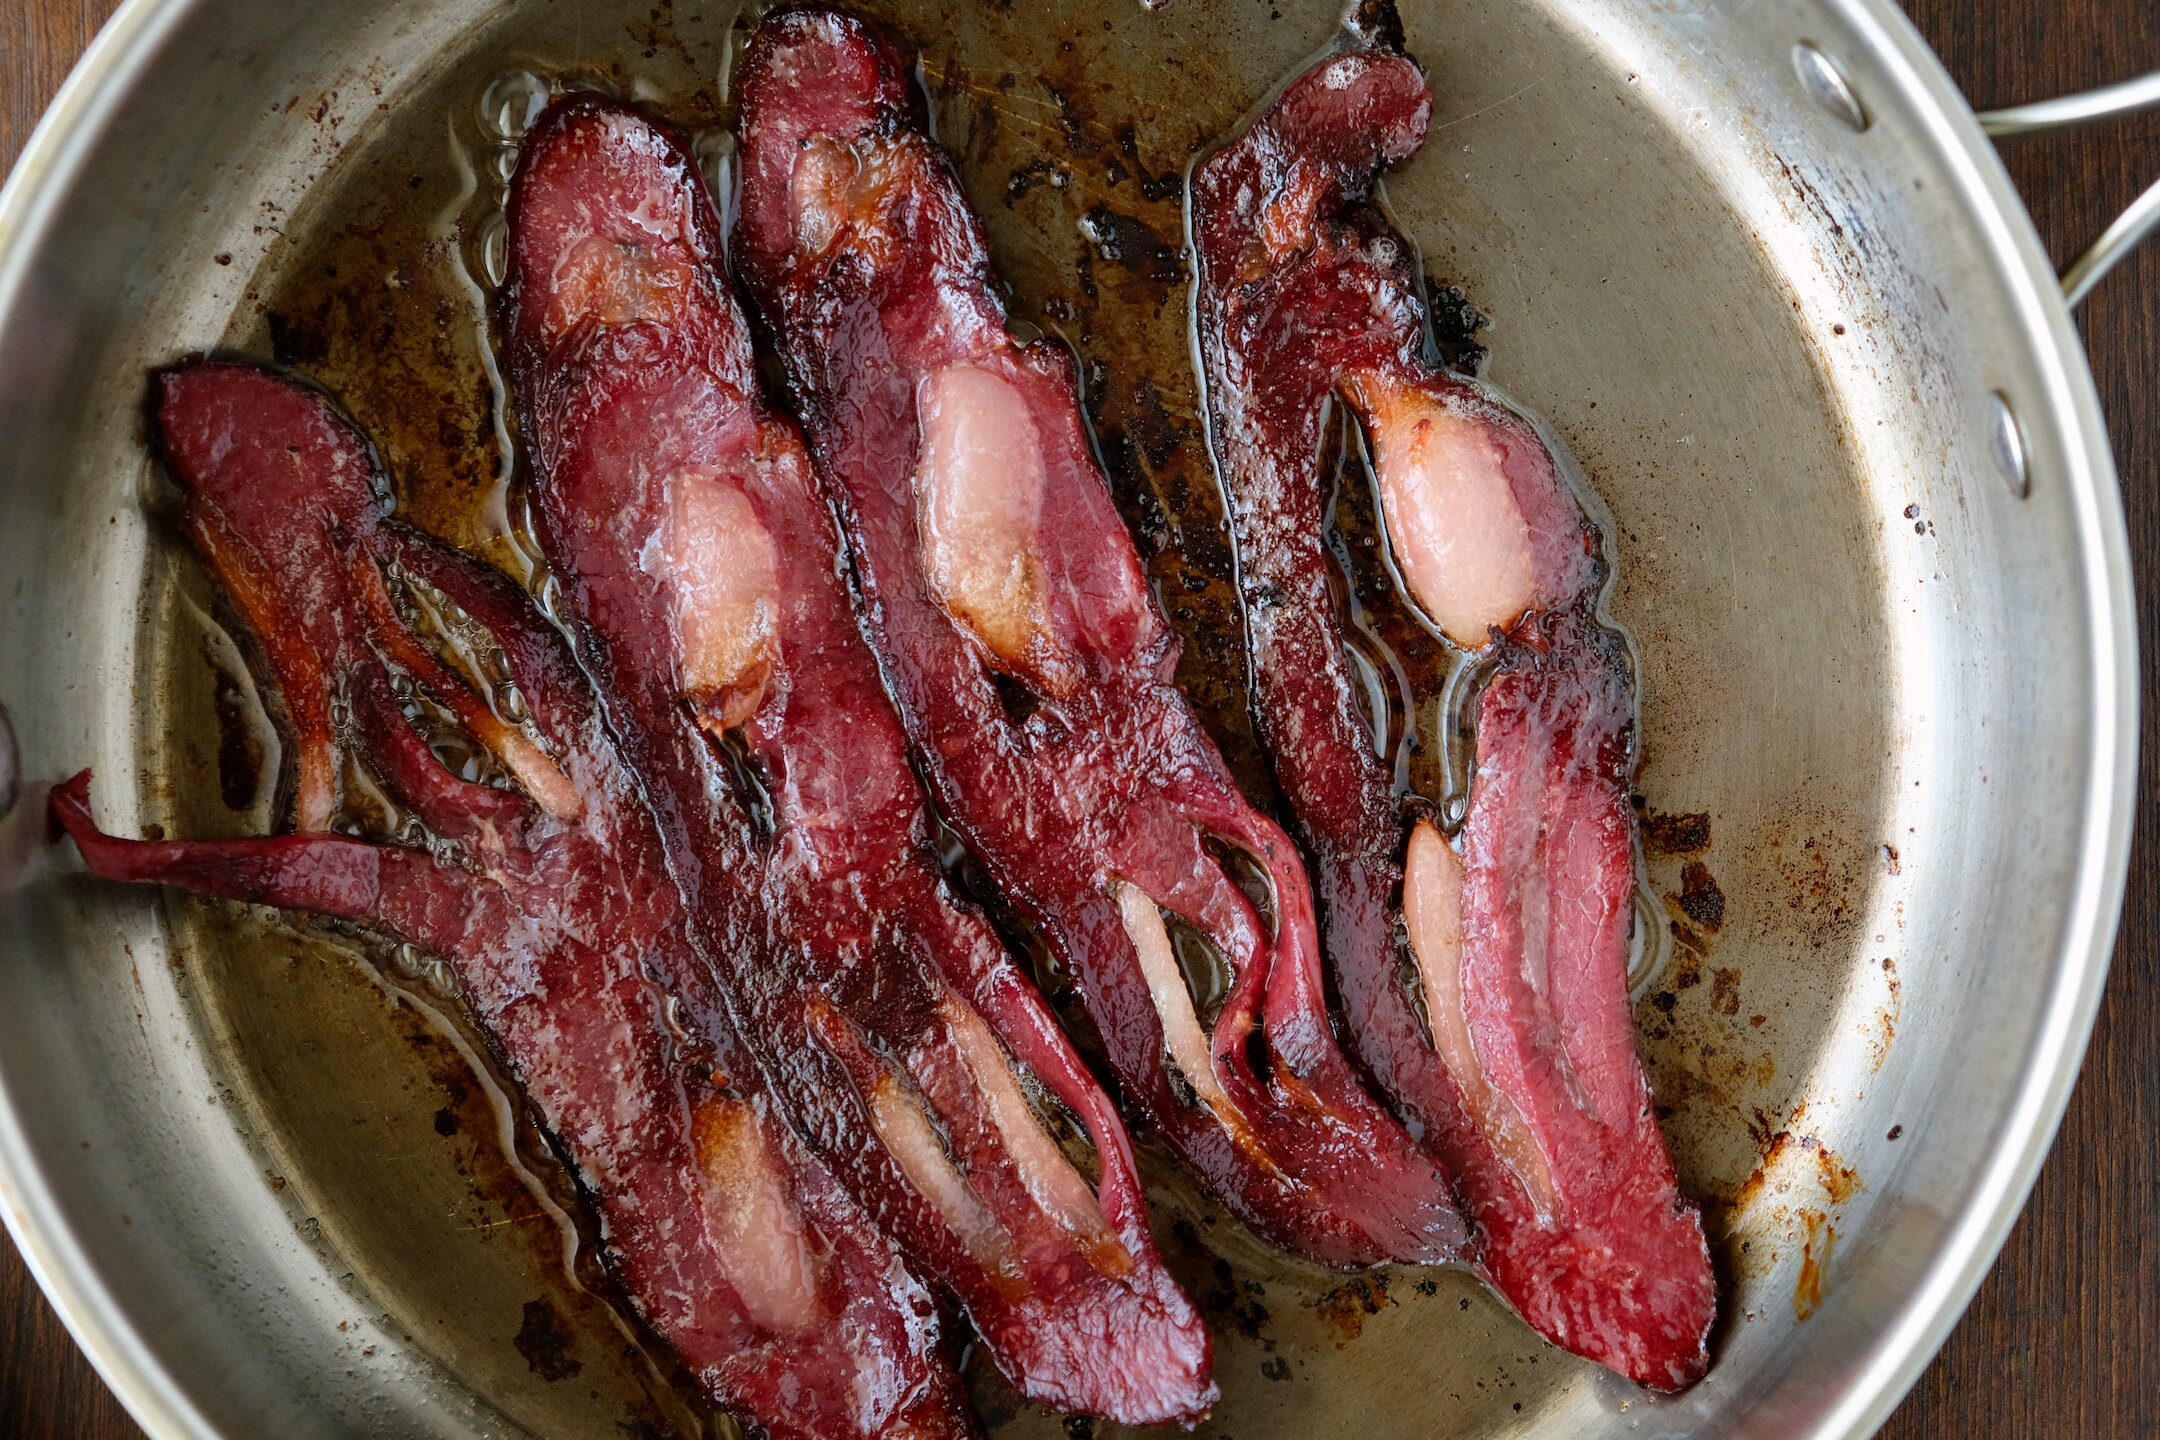
Once the target temperature is achieved, cool down under refrigeration. Slice ~⅛”-¼” thick, cross grain. Fry the slices up in a pan over medium high heat, until desired crispness is reached.