How to: Render Duck Fat


There’s not much to be said about duck fat that hasn’t been said before. Almost overwhelmingly rich, with a subtle sweetness, duck fat improves everything that it touches- liquid gold, as they say. It elevates the humble potato. It softens kale’s bitter edge, giving it a luscious, creamy depth. In place of butter in a pan sauce, duck fat adds a savory intensity. As the basis for confit, it renders into tough duck legs, leaving meat so tender and succulent you could almost spread it with a knife. Use it to round out a lean braised meat like venison for a juicy texture. There’s not much you can’t make better with a little bit of duck fat.
Rendering your own is easy, if you have a some time and a few birds. It’s almost criminal not to, given how little effort this project requires- just scraps and some patience. We’ve outlined three methods- just choose the one that most appeals to your level of commitment and time frame.
Wild ducks and geese can vary wildly in flavor due to their diets, depending on the species of bird and type of food available. Those that have been feeding on fish and mollusks will have a more golden fat, while birds that have been feeding on crops such as corn or soy will have a beautiful white fat. Diving ducks will generally have a bright orange fat. You’ll want to avoid rendering yellow or orange fat, as it has a fishier, marshy flavor that most people don’t love.
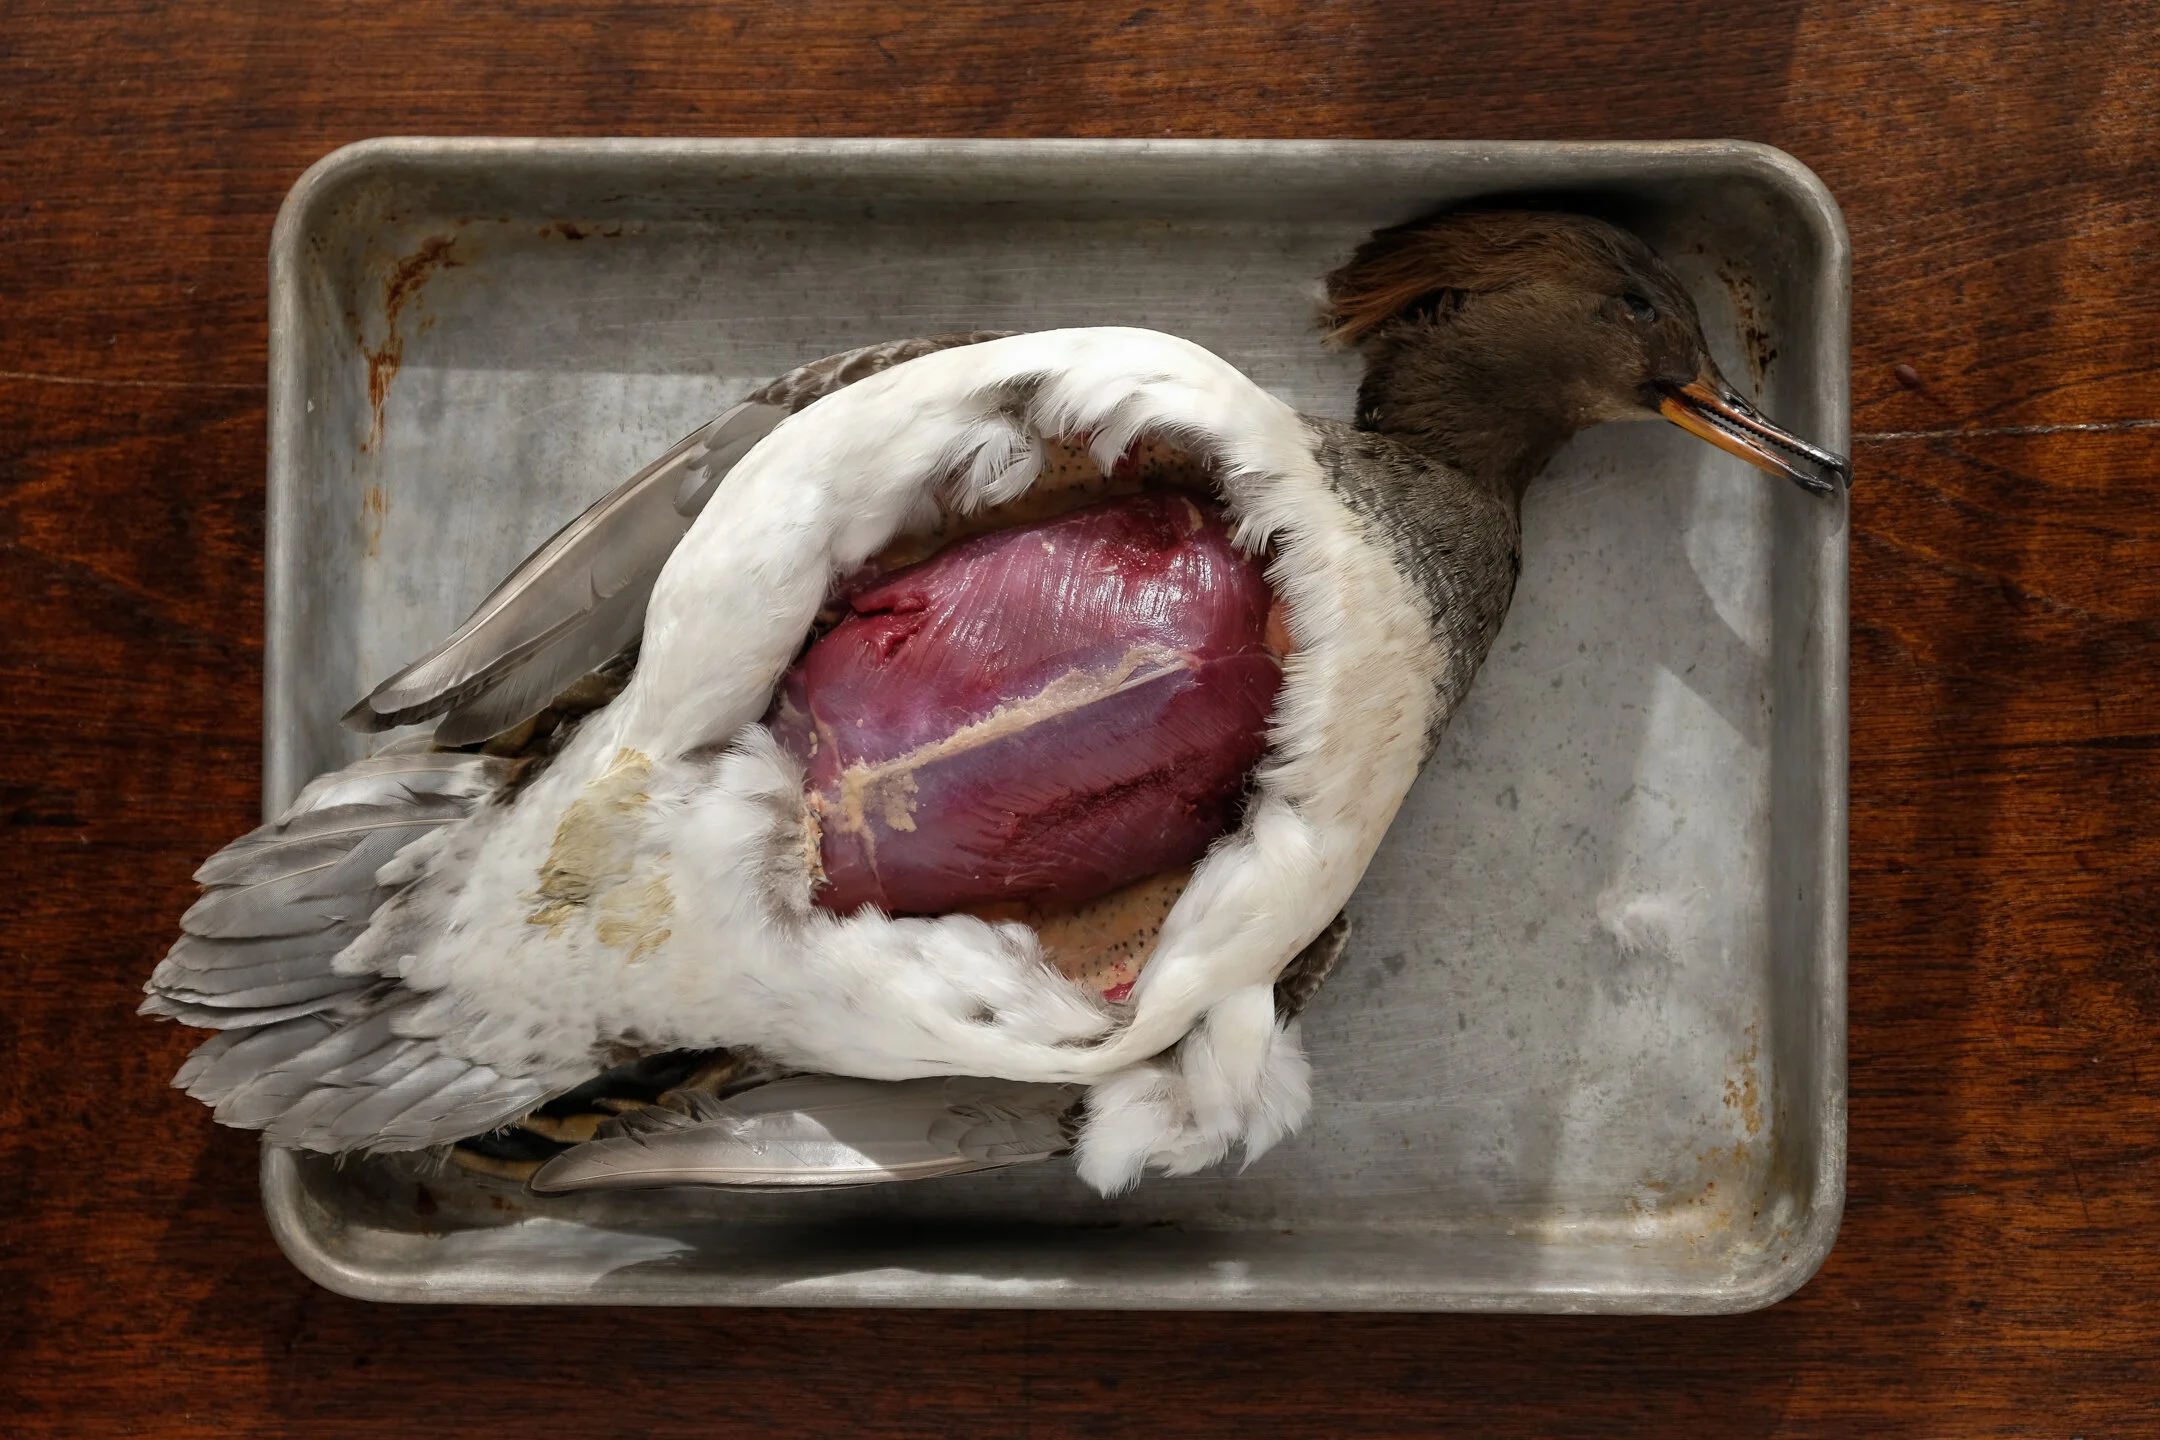
While butchering your ducks and geese, trim any extra skin and fat from the birds. The tail section and the inside of the body cavity often yield large pieces of soft fat. The extra skin from around the thigh, neck, and back can also contain good amounts of fat. Rinse and reserve these trimmings. If you need to, you can freeze them until you amass enough to make a good batch of rendered duck fat.
Rendered Duck Fat
Method One
Place rinsed trimmings into a saucepan over medium heat. As the fat heats up and starts to melt, scrape the bottom of the pan to keep the skin from burning. As more fat renders, adjust the heat to a bare simmer. You’ll know the fat is finished rendering when it looks like all the fat in the pan has melted, with just the skins left behind. Pour the fat through a fine mesh strainer, with a coffee filter or piece of fine cheesecloth (optional) into a heatproof container. Discard the skins or use to make chicharrones.
Method Two
As above, but add one cup of water to the pan with the fat when you begin rendering. Keep the heat on medium to medium high and maintain a steady simmer. As the water heats, it will render the fat and then evaporate out. When all the fat is rendered and water cooked out, strain and store the fat as above. This method takes a little longer, but it allows for a little more margin for error during the beginning part of the rendering, lowering the risk of scorching the fat.
Method Three:
As above, but place all the skin and fat, with no water, in a slow cooker and set on medium or low and cover. The fat should be rendered after a few hours. The is the slowest, but easiest method.
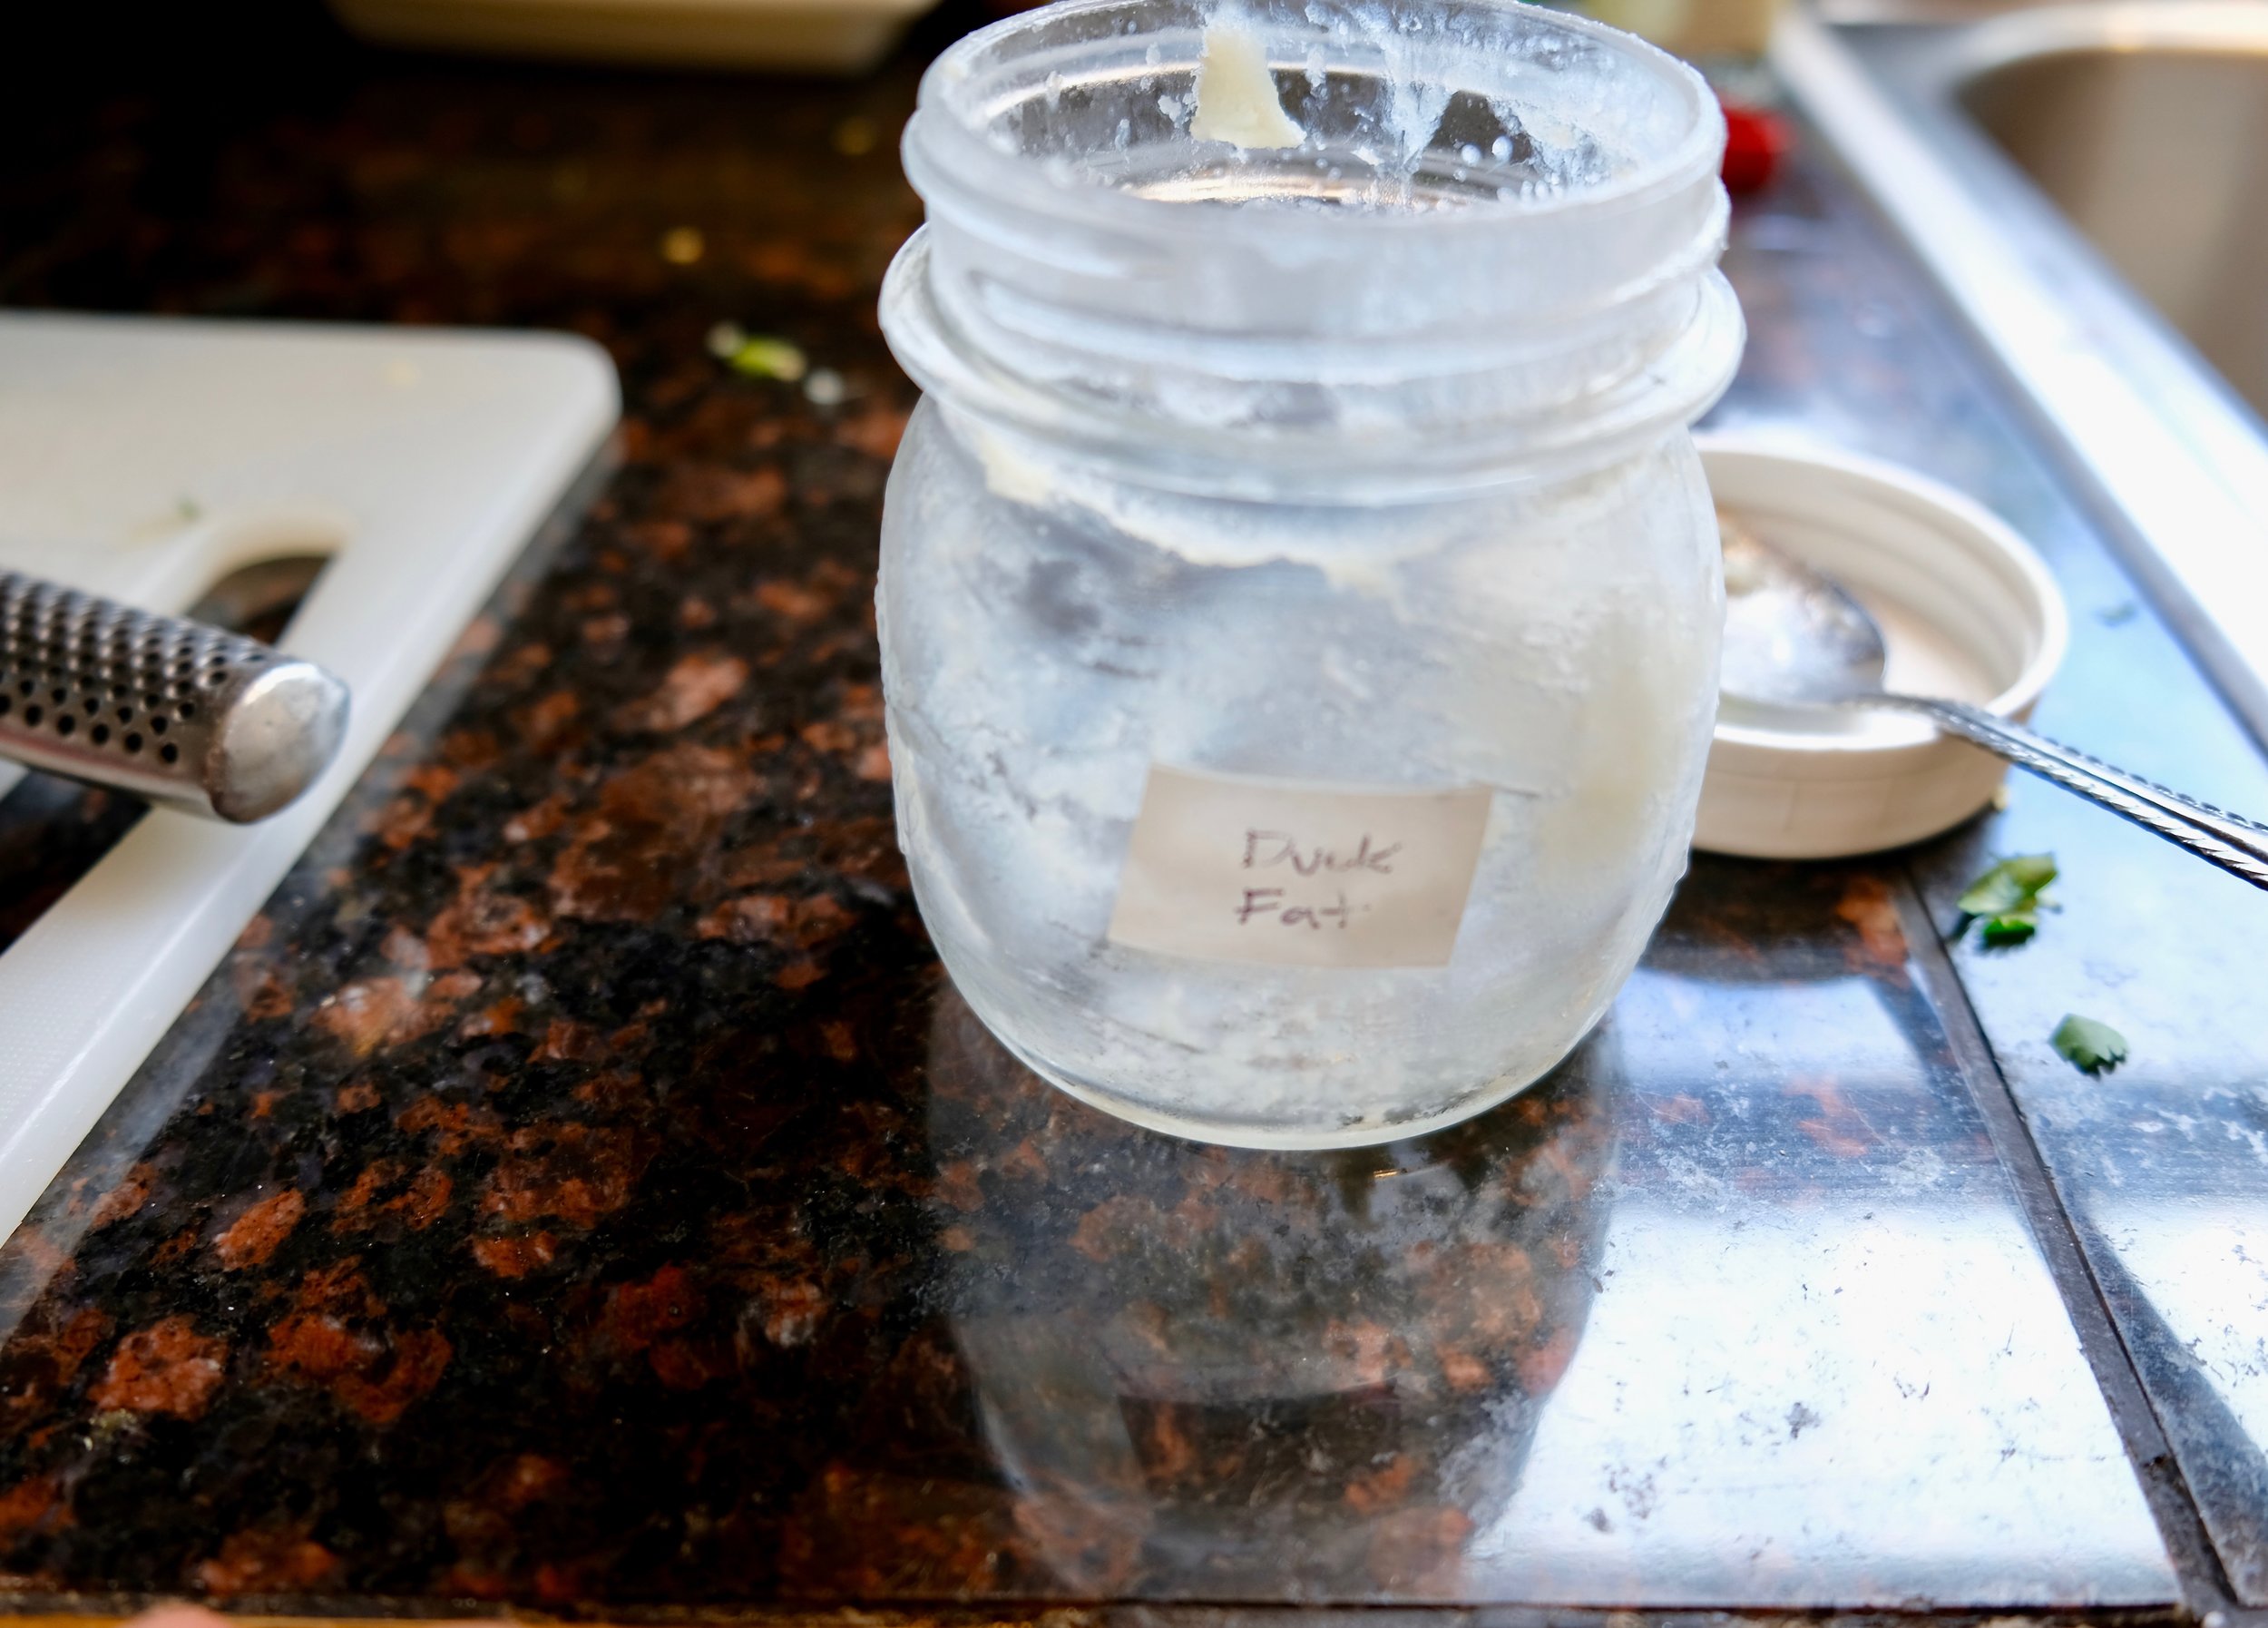
The fat is best stored in the refrigerator in a covered jar. When it cools, if there is a darker layer of liquid underneath the fat, you will need to remove it or risk spoilage.
Keep the lid on the cooled jar of fat and run hot tap water over the jar, until you can see the duck fat touching the sides of the jar begin to soften. Turn the duck fat out of the jar onto a plate or bowl, and scrape off the aspic. Return the duck fat to the jar in the refrigerator.


