How to: Build a Curing Chamber
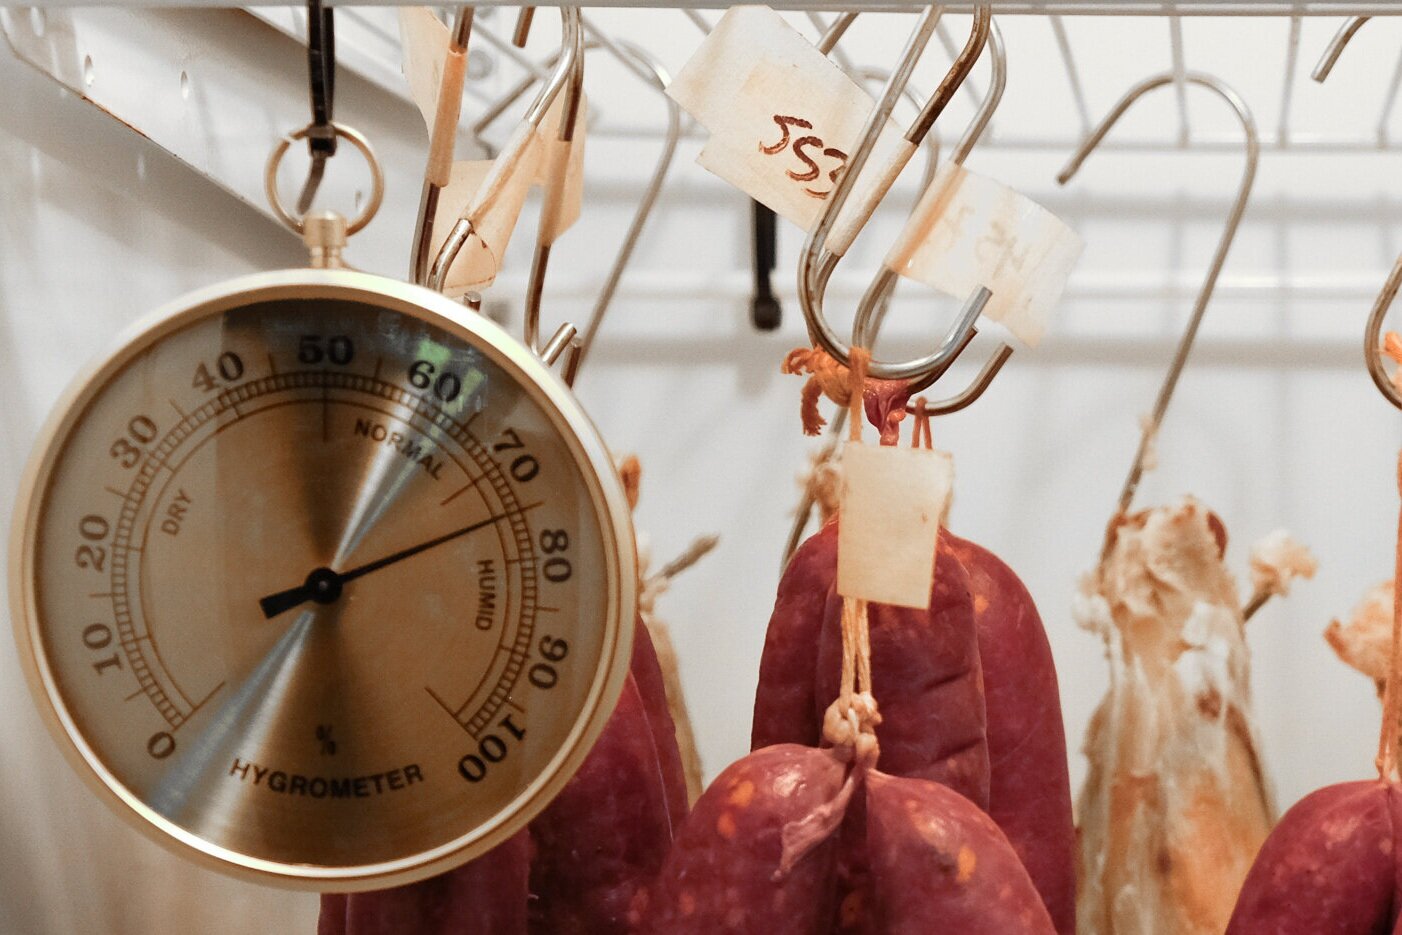
We built our first cure chamber about a year and a half ago. I had wanted to tackle this project for years, but kept putting it off because I was under the impression that I would need extensive knowledge of wiring electronics, relays and controls. I was wrong. As it turns out, “plug and play” humidity and temperature control units are readily available and not at all cost prohibitive. If you can push buttons and plug a power cord into an outlet, you should have just about all the skills you need to build your own chamber.
Our first build worked beautifully for a little over a year, after a brief troubleshooting phase. Then, the compressor on the refrigerator broke and repairing it would have cost 3x what we paid for it, so we opted to rebuild from the ground up. For our second build, we took what we learned and made a lot of changes to simplify the process and equipment needed.
We’ll go step by step and explain what we did, how, and why. Hopefully this will be helpful to anyone who is interested in dry curing and maybe save some of you the headaches we ran into early on. We are continuously updating this page as we make adjustments, improvements, and get feedback from readers, so please leave a comment below or email us if you have questions.
What is a dry curing chamber?
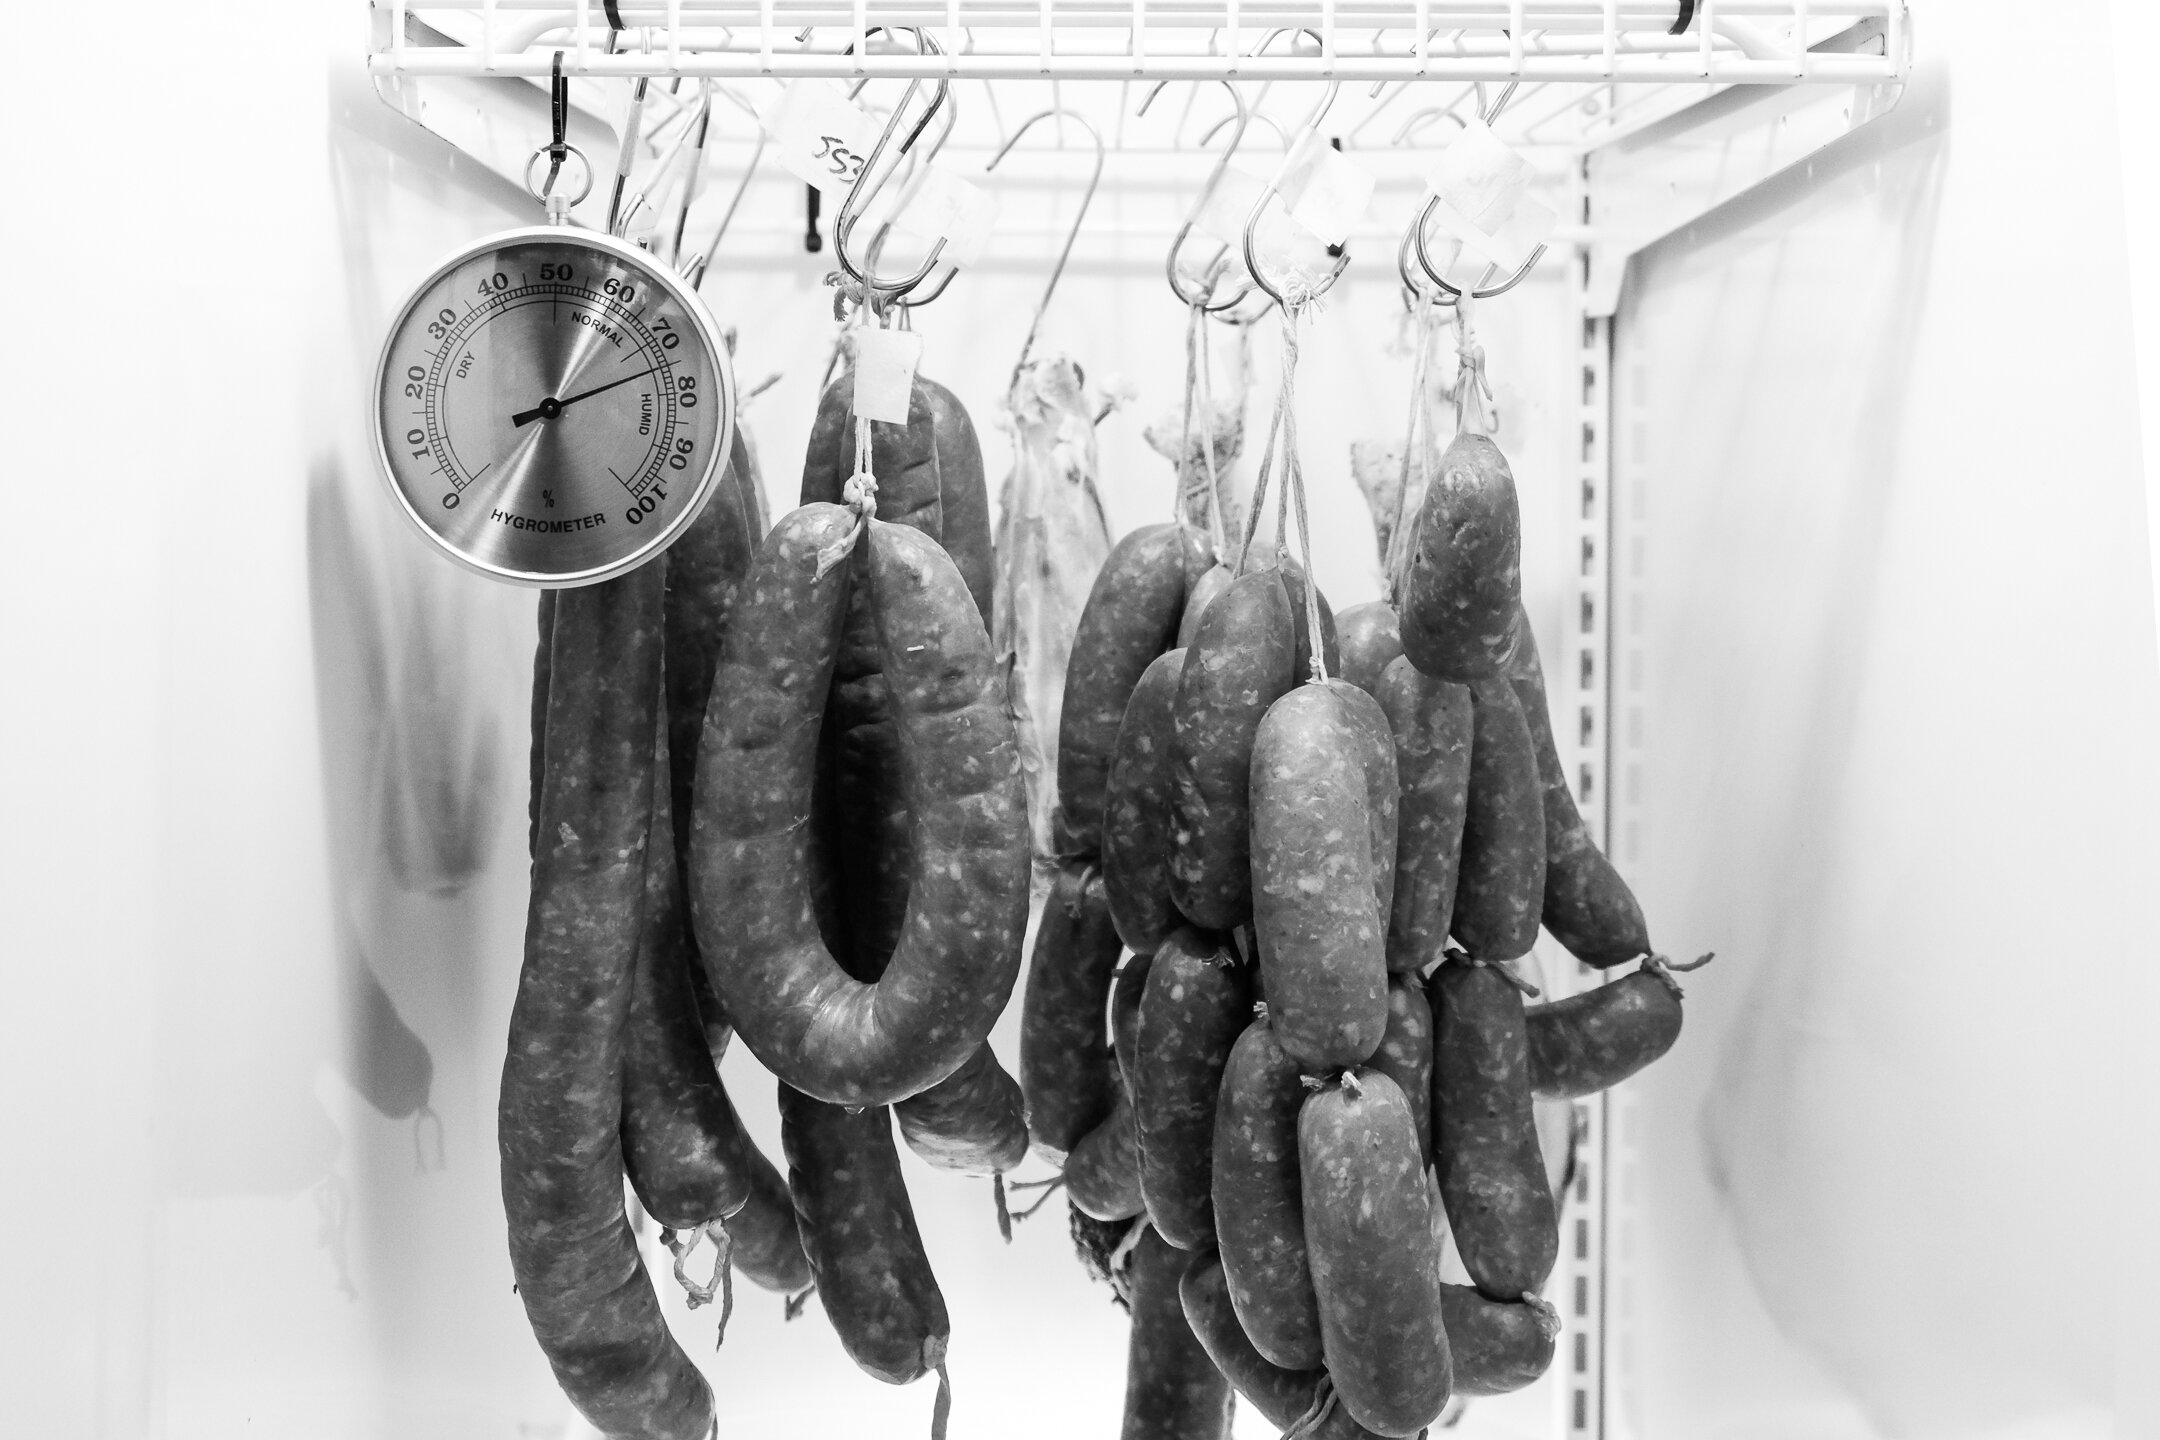
The purpose of a curing chamber is to create an environment with controllable temperature and humidity that allows for the dry curing of meats. The ideal environment is consistent, with relatively high humidity (~70%), fairly cool (50-60F) and dark. Some dry curing recipes state that it is ok to hang uncooked meats in a closet or garage for extended periods of time, and frankly, we do not advise you to go that route. This specific environment might exist naturally in some places (caves, cellars, etc), but for those of us living in modern, well-insulated and climate-controlled homes, it is very uncommon to have a closet space that will regularly maintain the specific temperature and humidity parameters you need to reliably cure meat. We feel that for food safety and consistent results, a chamber is a must.
The build is simple: an insulated box with cooling capacity (like a refrigerator or freezer) and a way to increase and maintain humidity. There are many options out there, from convertible fridge/freezer units, fridge only, freezer only, wine coolers, and combo fridge/freezers, all of which could be used to build a curing chamber. They may require varying degrees of modification, but the general premise is the same.
Materials:
Advertising disclosure: As an Amazon Associate I earn from qualifying purchases.
An old refrigerator or freezer
Optional: fans, extension cord
Refrigerator:
Ideally, you’ll find either a refrigerator without a freezer or a fridge/freezer combo with the freezer on the bottom. This style of refrigerator is ideal because of the amount of hanging space it gives you. You just cut through the partition separating the fridge from the freezer to make one big space.
Our previous chamber was a freezer on the bottom style unit. We cut out the partition between the top and bottom of the unit to increase the usable space of the chamber. This required some cutting, rewiring and sealing of the exposed insulation. If you go this route, try and find a wiring diagram of the unit if you plan on cutting or drilling any holes so you can avoid accidentally severing wires.
We opted for a side by side fridge freezer combo for this build. Namely because we couldn't find a freezer on the bottom or a fridge only unit for a reasonable price. We plan on only using the fridge side for the curing chamber so we don't have to do any major modifications to the internal space of the unit.
You could theoretically use a freezer for this too, but we haven’t tried it and can’t speak to the benefits or drawbacks of it. Home brewers use a similar set of controls with chest freezers to obtain similar temperature and humidity parameters. Using a chest freezer will definitely limit your hanging space- keep in mind that you are going to have a humidifier on the floor of the fridge or freezer you choose to use. A vertical freezer will offer you more optimal hanging space, but you must be sure to find one that has adjustable, removable shelves. Some vertical freezers have the evaporator coils built into the shelves themselves, which means you can’t cut them out without breaking the freezer.
No matter which route you choose to go, craigslist and facebook marketplace should have plenty of options for your perusal. Don’t overlook restaurant auction websites too- restaurants are always going out of business and there are tons of refrigeration units available dirt cheap.
Humidifier:
An ultrasonic humidifier is what we used in this build. Avoid heat based humidifiers and ones with filters. The heat will alter the temperature of the chamber, and the filtered versions get really dirty. There are a lot of options out there, but be sure to find a unit that is of a size that fits inside your unit, and has a ON/OFF switch that will remain in the ON position. Avoid units with touch style switches. Touch style switches that cycle through settings will often default to OFF when powered down, when powered back on they will remain in the OFF setting.
The one we use is no longer available, but is very similar to this one.
Controls:
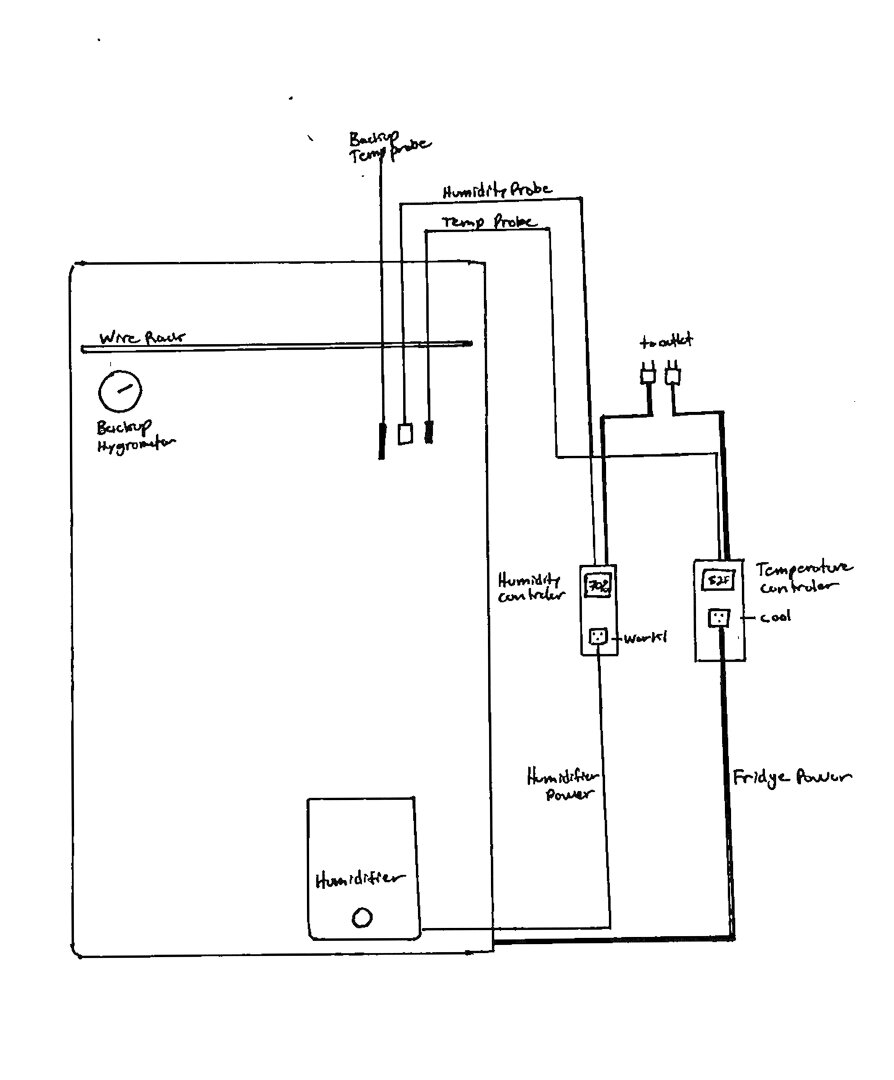
You need plug and play humidity and temperature control units. These are simple to use and easy to understand. Without them, you would have to build your own controls or modify the controls inside of the refrigeration unit. I'm not qualified or confident enough to do either of those things. These units work by turning on or off the devices plugged into them to achieve the temperature or humidity you select. They monitor the temperature and relative humidity with wired probes that will need to be installed inside of the chamber.
Temperature control:
This allows you to set the desired temperature of the unit and the deviation from that value allowed before the control turns on the cooling or heating device plugged in. The cooling device would be the fridge (plugged into “cool”). If you opt to have heating, a ceramic bulb or something similar would be used to heat the unit (plugged into “heat”). In our build, we decided we did not need a heating element. We recommend starting without a heat element, and if you find that your chamber is consistently too cold, you can add a ceramic bulb later.
Ambient temperature: Make note of the ambient temperature of where you plan on running the cure chamber. We set up our first cure chamber in our uninsulated shed in late winter. The ambient temperature was often below the target temperature of the chamber and a heat element (ceramic bulb) was needed to keep the unit from getting too cold. We eventually moved the unit indoors. The ambient temperature is no longer below the target temperature and we no longer need the heating element. Take special precaution in your placement of the curing chamber. You may be tempted to set it up in an uninsulated garage or shed, like we did. Depending on your climate, this may not be feasible. The cure chamber did fine during our warmish winter, but it was no match for Virginia’s hellish summertime temperatures. Our current cure chamber lives in the basement, where temperature fluctuations are much less severe.
Humidity control:
This works the same way as the temperature control but with humidity. Set the desired humidity and the deviation and the control will turn on the humidifier (plugged in to “work 1”) or if using one, the dehumidifier (“work 2”). On this build we decided to omit the dehumidifier. We recommend starting without one, and if you find that your chamber is consistently too humid, you can add a dehumidifier later.
Refrigeration cooling: Most modern refrigeration units dehumidify automatically as they run by cycling the air over cold coils. After monitoring this cooling cycle we have determined that in our unit, a dehumidifier was not necessary.
Optional: Fans
Depending on your setup you may opt to have a small fan circulate air inside the unit. Our unit goes into cooling mode every few hours, which cycles a lot of air, so we do not feel the need for a separate fan. If you are in a scenario where the cooling unit rarely runs (say, the ambient temperature is just at or below target for the majority of the time) you may want to install a small fan to move air around in the chamber. Air circulation will prevent excessive moisture build up and produce more consistent results.
Assembly:
Pull all the shelving out of the refrigerator and give the interior a deep clean. Sterilize with diluted bleach. It is extremely important to sterilize the unit. You want to start off with a chamber that is void of any molds or bacteria that may negatively affect any meats.
Install the temperature and humidity controls. Tape the probe end of each of the controls to the interior of the cure chamber, right at about the level that the meat will be hanging. Thread the probe wires between the door and the gasket. Then, mount the control itself to the exterior of the fridge.
Put the humidifier in the bottom of the fridge and run the power cord between the door gaskets.
Plug the refrigerator itself into the “cool” side of the temperature control. Plug the humidifier into the appropriate side of the humidity control (work 1).
Now, plug in your controls. Plug both the humidity and temperature controls directly into an outlet if possible. If not, use an extension cord of the appropriate gauge to power the temperature controller, since the refrigeration unit will be drawing power through the controller.
Now input your settings into the controls.
Settings:
These are our settings. There is much debate over what are the perfect conditions for dry curing meats, but these are what have worked for us.
Temperature Control:
Temperature 52°F
Heating differential (HD): 5°F
Cool differential (CD): 8°F
High temp alarm: 62°F
Low temp alarm: 45°F
Humidity Control:
Relative Humidity (RH): 70%
Humidify differential (HD): 10.0
Dehumidify differential (DD): 10.0
HD delay: 10.00
DD delay: 15.00
High humidity alarm: 100
Low humidity alarm: 50
Overall, this unit took us less than 30 minutes to set up. Truthfully, it took longer to get the refrigerator down the stairs and into our basement than to assemble the chamber.
Once it’s set up, we recommend you run the chamber for a few days and monitor the temperature and humidity before hanging any meat to be dry cured.
Below are some tips and notes that might help you along.
tips/notes/FAQs
Mold 600:
This is a mold culture that is mixed with distilled water and sprayed onto salamis during the incubation process, and again before going into the curing chamber. It inoculates the salami with “good” mold (the chalky looking white mold you see on most salamis). The good mold outcompetes other mold and creates a permeable barrier on the salami, allowing just the right amount of moisture to leave.
We started using this spray-on culture after a few early batches of salami had spots of case hardening (where the casing dried too fast and prevented moisture from leaving the salami). We highly recommend using it for all salamis.
Without it, we had inconsistent “good” mold growth, and had to wipe away some fuzzy looking stuff every now and then. Now that we use Mold 600 on all the salamis, they are completely covered in the good bright white mold within 48-72 hours of being in the chamber, and we haven't had any issues with case hardening since.
Spikes in humidity:
When we started running the first chamber, we would get massive spikes in humidity every time we put a new charcuterie in the chamber to cure. We panicked and thought that the chamber wasn’t dehumidifying well, so we installed an exhaust fan and wired it to the same side of the control as the dehumidifier. The exhaust fan helped drop the humidity, but turned out to be unnecessary.
We over thought it. Of course putting 20 pounds of wet meat into a cure chamber will affect the humidity! The humidity would be above target for a few days, then taper towards the target. We have realized that this is not a problem- it’s actually helpful. The initial high humidity keeps the fresh casing from drying too fast, preventing case hardening. As long as the humidity returns to target over the course of a few days it is not an issue.
Case hardening and equalization:
Case hardening is when the casing of the cured meat dries faster than the meat in the casing. This rapid drying “seals” the casing and prevents moisture from leaving the meat. This can cause quality issues as well as safety issues. Excess moisture can lead to internal mold and bacterial growth which could cause the sausage to become unsafe to consume. Case hardening can also cause inconsistent texture in the cured meat- soft spots or dry spots are not desirable.
As mentioned above, we use mold 600 on all our salami to encourage good mold growth and proper drying of salami. We also allow the humidity in the chamber to remain above target for a little bit when fresh batches of salami go in- this allows the salami time to dry evenly.
Another technique we employ is equalization. After the cured meats have achieved target weight loss, we vacuum seal them and store them in a refrigerator for 1-3 weeks. This allows the moisture to equalize throughout the cured meat. Small spots that are overly dry will hydrate and soft spots will dry out a bit. This technique helps make the finished product consistent.
Recommended reading
We field a lot of questions about the sausage and charcuterie making process. One question that always comes up is what books we recommend to learn more about the processes. This fortunately, is an easy question. Charcuterie by Ruhlman and Polcyn has all the fundamentals you need to cure meats and develop your own sausage recipes. It’s the first book we bought on the subject matter, and it’s still the one we go to the most when we want to cross reference an idea.
The Art of Making Fermented Sausages by the Marianski brothers is a deep dive into the process of making salami. This book gives you the information you need to make salami safely, and a deeper understanding of how salami works.
We highly recommend both books, but if you are just starting out and could only purchase one, start with Charcuterie.
Advertising disclosure: As an Amazon Associate I earn from qualifying purchases.












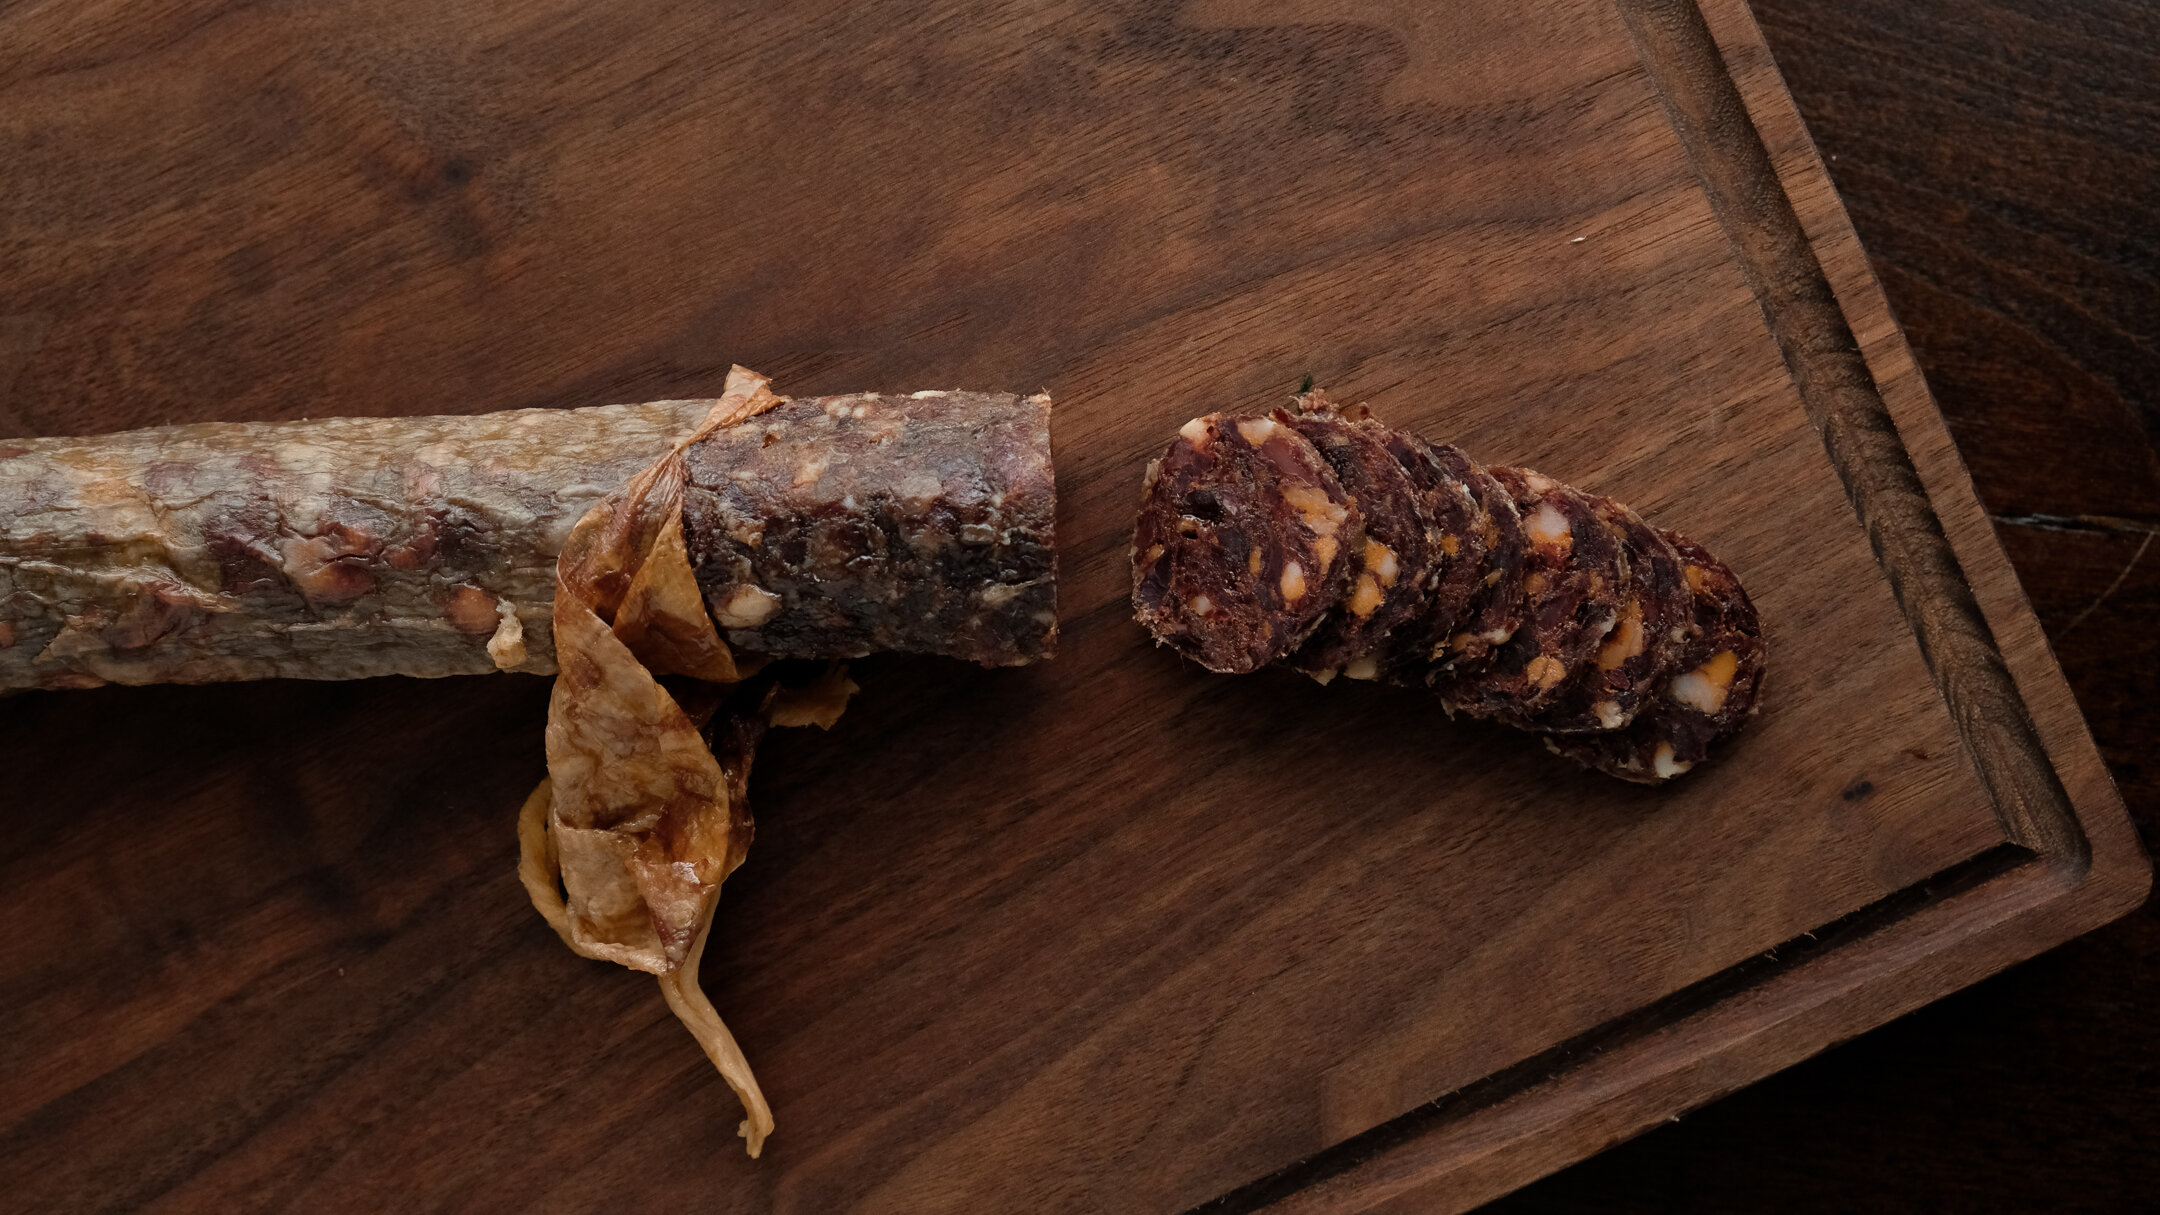









“Best sausage I’ve ever had”