How to: Dry Curing Meat
If you’re interested in learning more about curing meat, we highly recommend reading Charcuterie or Salumi by Michael Ruhlman and Brian Polcyn. Both books are incredible resources and contain a wealth of knowledge about the topic.
Dry curing meat is an art and a science. It can be as simple or as complicated as you want it to be. At its core, the goal is to preserve uncooked meat by allowing it to slowly dry while preventing harmful bacteria from forming. You can dry cure a whole muscle cut (think prosciutto) or sausages (think salami). To do this, you need two things:
The right salt:
Salt creates an inhospitable environment for most food spoilage bacteria. This is the cornerstone for dry curing meats. We use coarse kosher salt in all our recipes. Don’t use salt that contains iodine. Nitrates, or curing salts, are also used in our recipes to further prevent harmful bacteria, namely botulism. We use Instacure #1 and Instacure #2. There are equivalents to Instacure #1 and #2 and they are fine to use, but sel rose and other “pink salts” are not the same thing. If you are thinking of substituting another curing salt for the ones mentioned in our recipes, do your research and do it at your own risk. If you don't want to use nitrates at all in your dry cured meats, use someone else's recipes- we don’t want to lead anyone down a path that might get them sick or worse. All of our dry cured recipes call for the use of salt and nitrates. Do not change the proportion of these ingredients.
Instacure #1 vs Instacure #2
Both contain sodium nitrite, and instacure #2 also contains sodium nitrate. Both are used as antibacterial aids, botulinum being the biggest concern. They also help to preserve the color of the meat. Instacure #1 is used in many charcuteries, but always ones that do not stay in warm environments for extended periods of time, like corned venison or pastrami. Instacure #2 is used in cured meats that have a long cure time, like salami or Virginia ham. The nitrate in Instacure #2 slowly converts to nitrite during the curing process and acts as a time release antimicrobial.
The right environment:
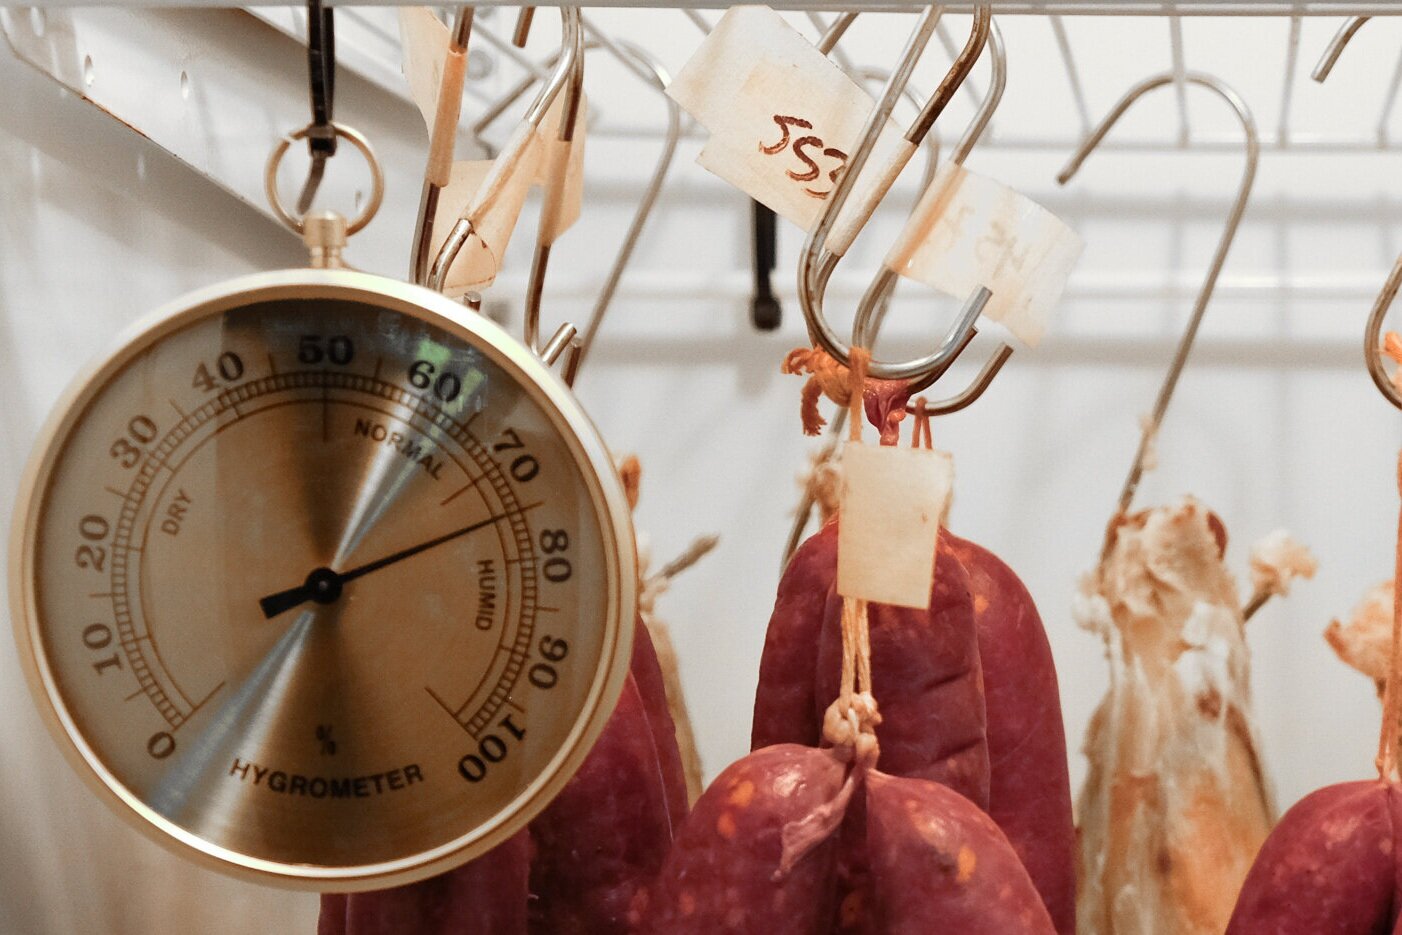
The ideal curing environment is one that is about 55F with a relative humidity of ~70% and little to no light. This can be as simple as a dark corner in your basement or a closet that stays cool. An unplugged refrigerator with a pan of salt and water could be used and is suggested by Ruhlman. The only way to know for sure if your environment is good for dry curing is to test it with a thermometer and hygrometer. They are inexpensive and will give you an idea of what you are working with.
Early attempts:
Before we built the curing chamber, we attempted a handful of dry cured charcuteries. Our house tends to stay relatively warm and dry, not ideal for curing meats, so it was a little bit of a crap shoot. We rigged up a small dorm fridge with a temperature controller, but we couldn’t control the humidity. The results were mixed- the duck and goose prosciutto were fantastic, albeit a bit dry. The first whitetail bresaola was similar, with a great taste, but a noticeably worse texture compared to the duck, and the beaver tail lardo could have been much better. We learned a lot.
After our experience, we highly recommend building a curing chamber if you don't have a near perfect environment for dry curing. It’s a simple process, and if you can learn from our mistakes the entire contraption can be put together in a couple of hours. We have the basic outline of how to build your own cure chamber here.
How to Make Cured Sausages:
Below, we’ve written up a general guide for making cured salamis. Just like our sausage making guide, this walks you through the process of making salami, start to finish. Depending on the specific recipe you are using, there may be variations, but this is generally what the process looks like.
1. Mix and grind ingredients
2. Add bacterial culture and mix
3. Stuff into casing
4. Weigh and record weights
5. Incubate sausage
6. Dry
7. Monitor
8. Weigh to check for doneness
9. Equalize
1. Grind and mix your sausage according to the recipe you’ve chosen. If you’ve never made sausage before, check out our basics guide.
2. Following the manufacturer’s instructions, mix distilled water (avoid chlorinated water as it may prevent the culture from growing) with the recipe-specified amount of culture and stir lightly. Allow it to sit at room temperature for the recommended amount of time before stirring it into the ground meat.
All of our dry cured sausages are inoculated with a bacterial culture. This bacteria consumes the available sugars (in most of our recipes, the dextrose) and ferments the meat, changing the PH of the meat to a level low enough to prevent harmful bacteria from growing. This fermentation also gives the salamis the distinct tanginess in flavor, as well as texture and color. This could be done with naturally occurring cultures (think making kimchi or sauerkraut) but we haven’t tried this method and cannot recommend it.
If you want to do a deep dive into bacterial cultures, check out this page. Specific cultures incubate, acidify and feed on different sugars at different optimal temperatures and different salt levels. They all also contribute varying flavor characteristics to the sausage. Generally, we advise you to stick with the culture indicated in the recipe you are following, but if you want to nerd out on charcuterie, this is a great topic to read up on.
3. Stuff the meat into casing. If you’ve never made sausage before, check out our basics guide.
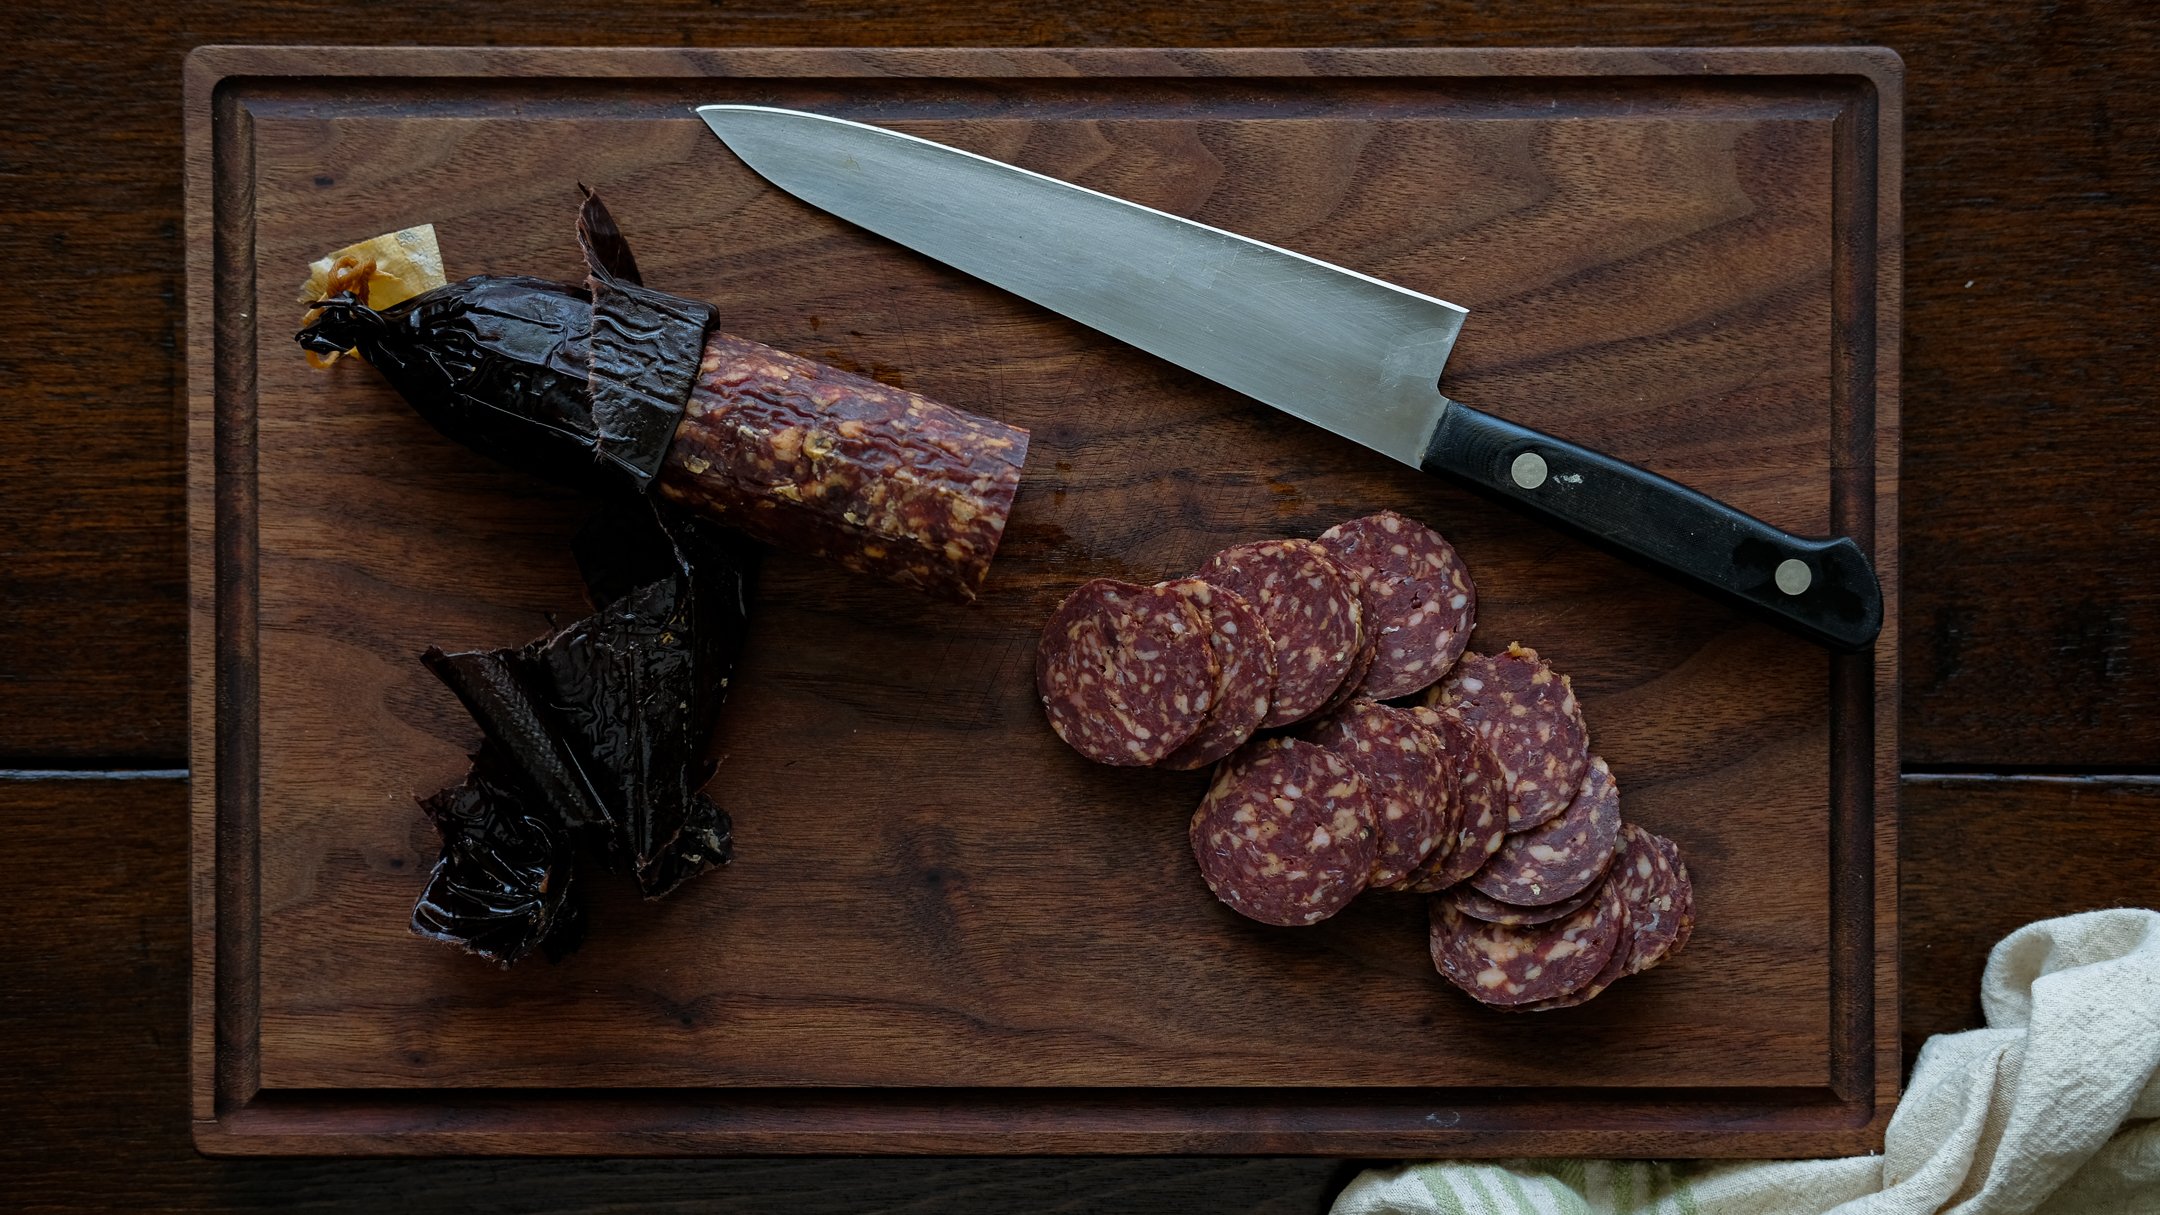
4. Weigh and record the starting weight of your salami. This will be how you gauge doneness. I record the starting date and starting weight on each bunch of salami with freezer tape or masking tape and sharpie.
At first, we used paper tags and they would get moist and fall off while we rotated the salami. This proved to be a huge pain, because without the starting weights it was difficult to determine the correct amount of weight loss.
5. Incubate the sausages. This is done before hanging the meat to dry. Hanging it at a warm temperature allows the added bacterial cultures to reproduce and ensures proper growth, leading to a PH that will prevent harmful bacterial growth.
This step can be done in your curing chamber if it is not currently being used to cure another batch of salami. Set the temperature to 80-126F, depending on the recipe instructions, and hang the meat for the recommended time, and then lower the temperature to the recommended drying temperature after the incubation period.
If you have another batch of meat in the process of drying, then you will have to incubate in a separate space. Hang the salami in a warm area (80-90F) with high humidity away from light and drafts. I use a cardboard box with a hanger across the top, placed near a heater with a wet towel over the top. The next project is to build a proper incubator that is collapsible.
6. Dry the sausages. Hang the sausages in the chamber and slowly allow them to dry. The ideal temperature and humidity varies from source to source, but we generally set our chamber at 55F and 70% humidity.
7. Monitor the drying process. Keep an eye on the temperature and humidity. Check the dryness of the sausage casing and look for mold growth.
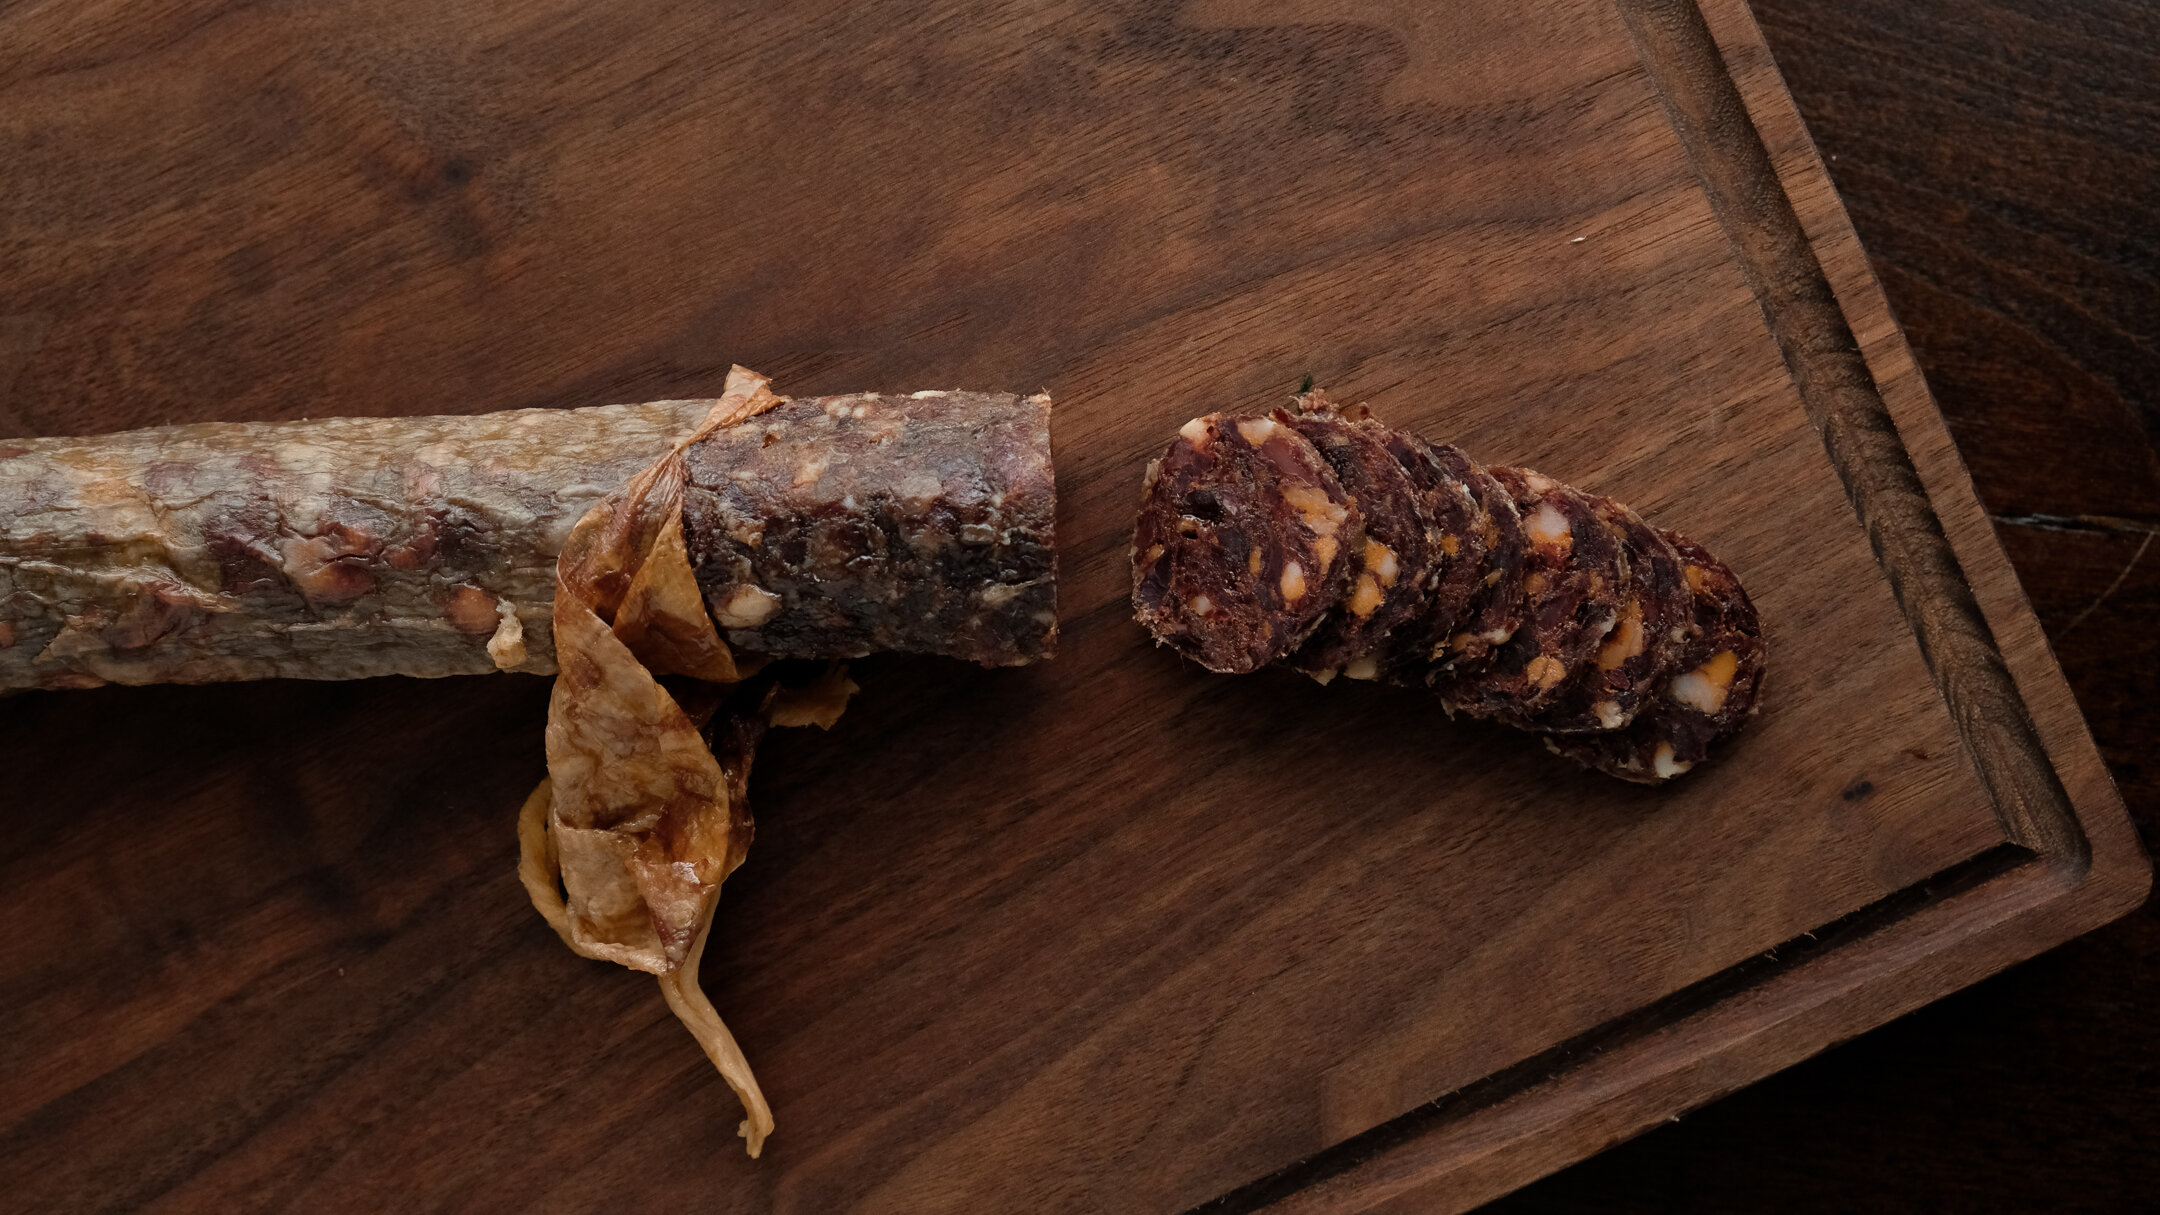
If you can’t stand the sight of mold, you’re going to either need to get over it or give up on dry curing. Molds, both beneficial and non-beneficial, are a major part of dry curing. The temperature and humidity of a curing chamber are conducive to mold growth. There are good molds, bad molds, and somewhere in the middle molds. Good mold looks like white chalk- it’ll start covering parts of the cured meat and helps to retain moisture and prevent case hardening. You can inoculate the exterior of the sausage with a mold culture (MOLD 600). Once you have enough of the right kind of mold growing, it outcompetes the bad mold.
If you get fuzzy green, blue, or black mold growing, you potentially have a problem. From our research, fuzzy white mold is not bad but not great either. We wipe this stuff off the sausages with a clean towel dipped in vinegar. Sometimes the fuzzy white stuff turns a little green, which is also not the end of the world, but we take care of it the same way as the white stuff. Black, blue, and dark green molds are a bad sign. You can try to wipe it off, but if it keeps coming back we’d recommend tossing the sausage and sanitizing the entire curing space. Some of these molds will burrow into the meat. If you cut a salami and there is dark mold on the inside, toss it.
The first few days of our first batch, the chamber had higher than anticipated humidity. There was a bit of fuzzy white mold growth. I wiped the mold off with vinegar and repeated the process every day until the humidity got to target range and the good, chalky white mold started to win the culture battle. Since then, I have not had any issues with fuzzy molds.
You also want to look for case hardening. This is when the casing dries out too fast (or unevenly) and does not allow the moisture inside the sausage to escape. This is usually due to low humidity, too much airflow, or too much direct heat. We rotate the salami around every few days, mostly to check on the ones in the back, but this seems to help curb case hardening and keeps all the salamis drying at the same rate.
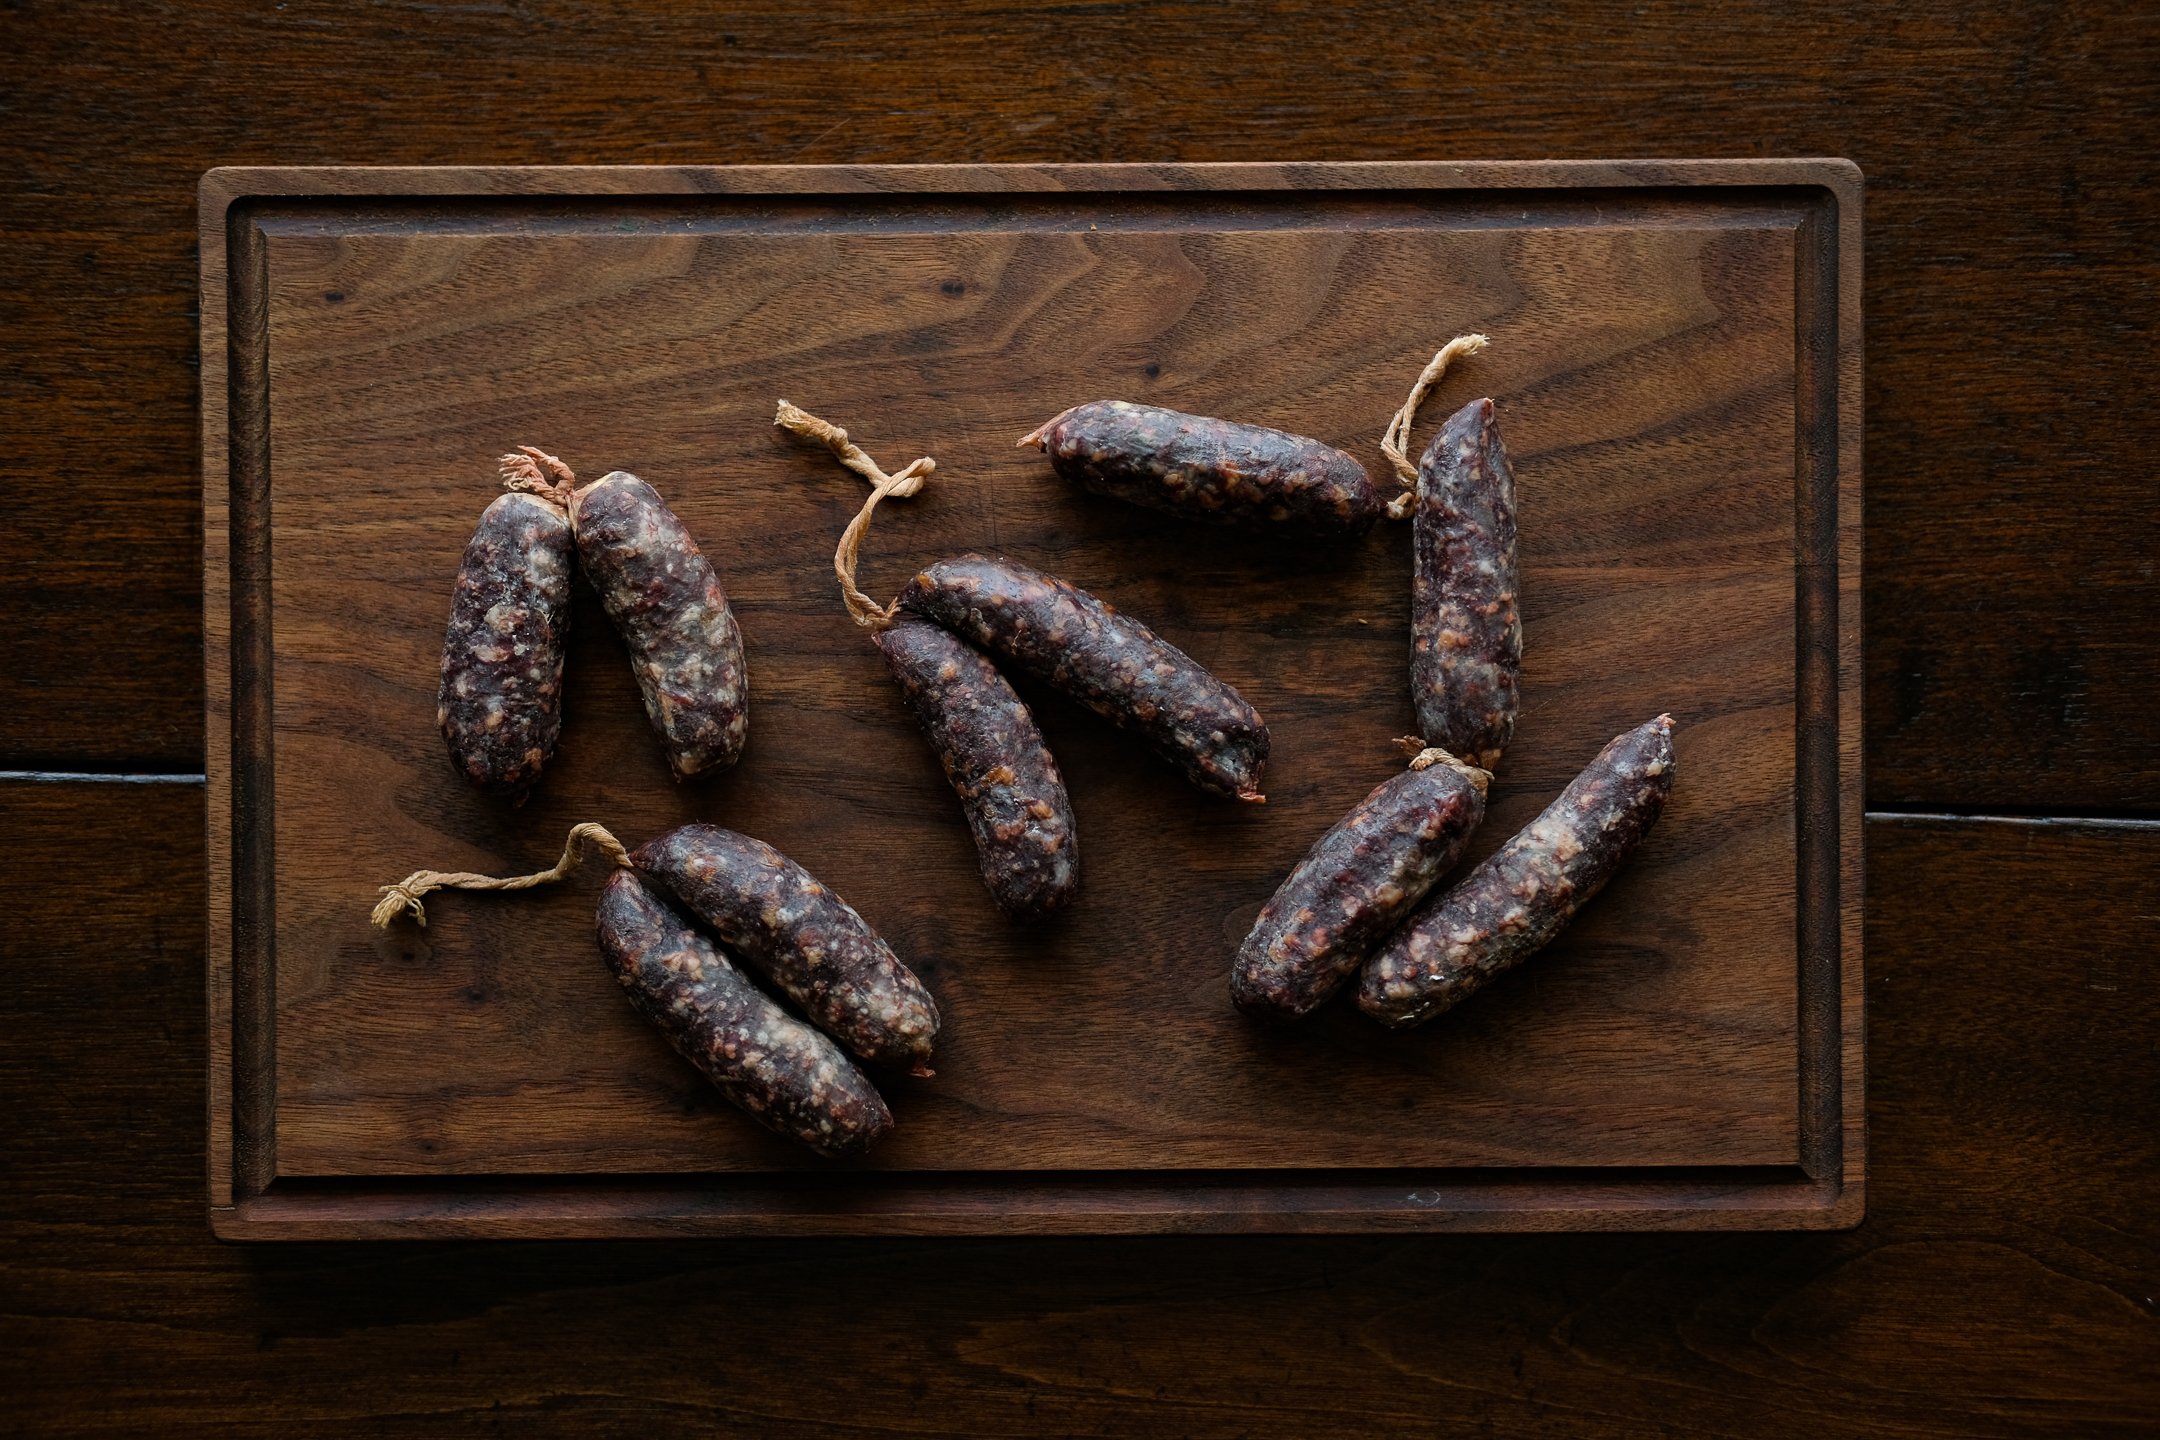
We hung our first batch of salami in pairs with s hooks. We noticed that where the salamis overlapped and touched at the top, the casing stayed moist while the rest of the casing was drying. We rotated and spread the salami pairs apart to encourage airflow between the links.
8. Periodically weigh the meat. Because the sausage is never cooked, and what you're going for is textural doneness instead of internal temperature, you need to gauge doneness by texture and weight.
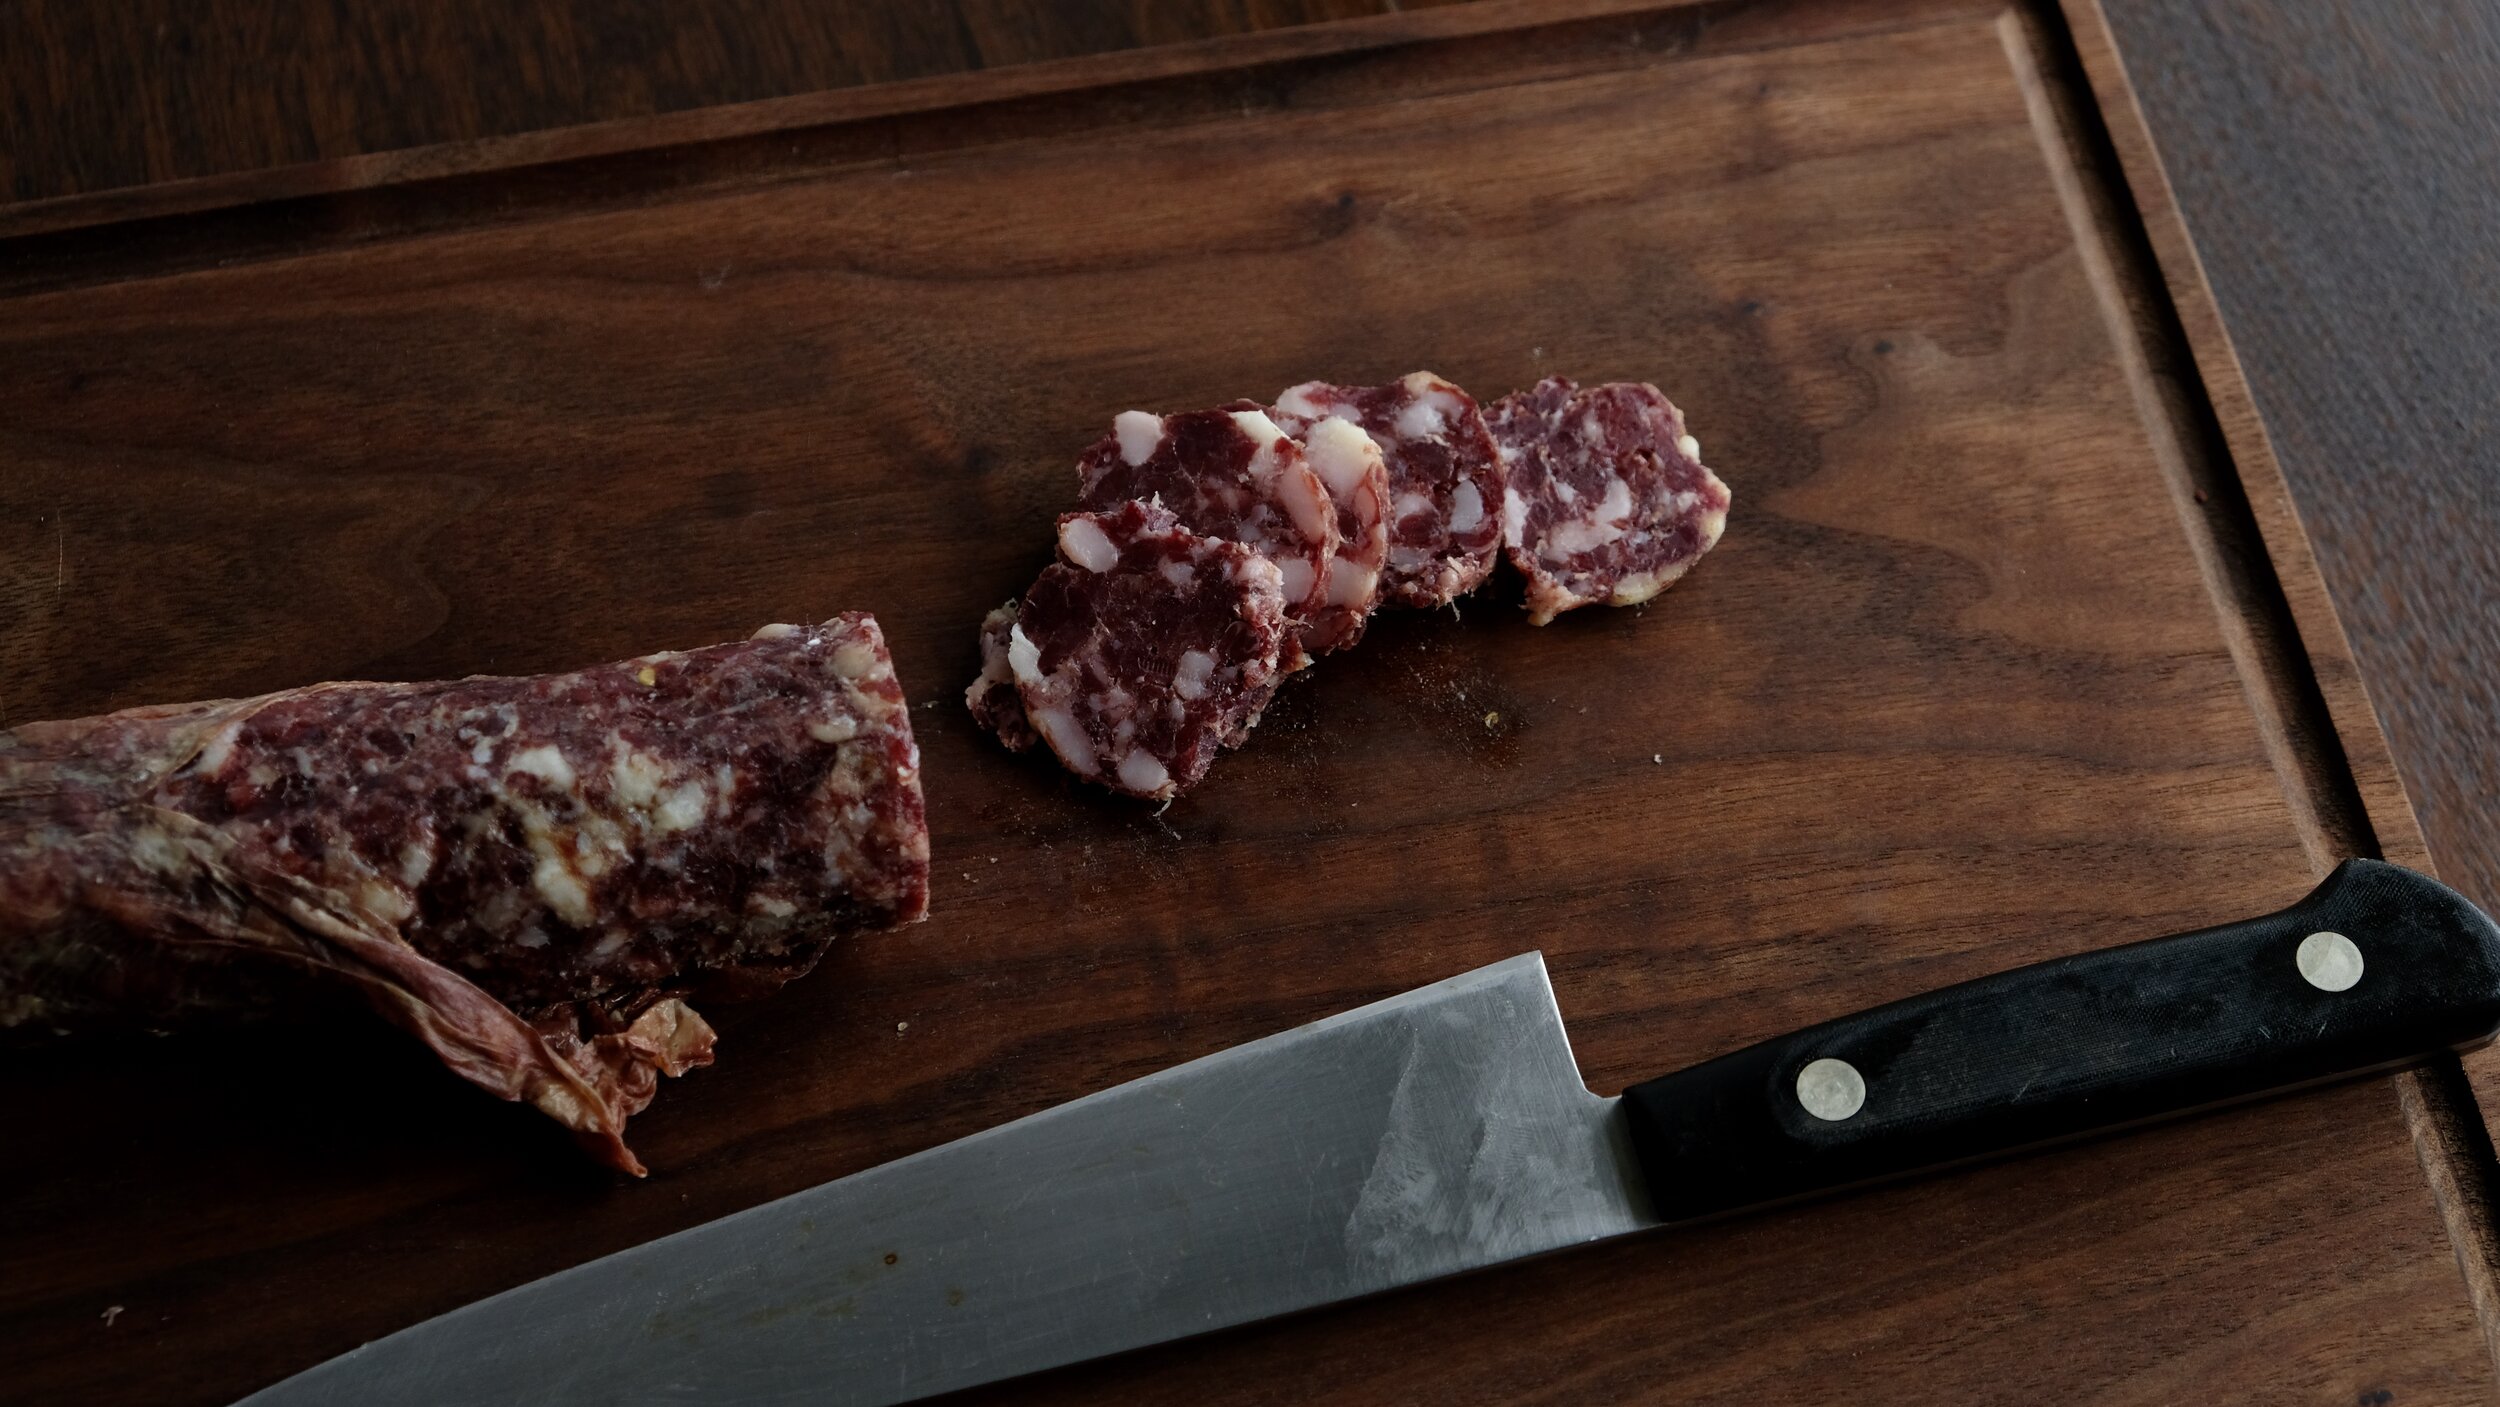
As a rule of thumb, 30-35% weight loss is what you are looking for, though you can dry the meat further. This is done by weighing the meat and recording the starting weight, and then checking the weight periodically for the percentage of weight loss you want.
9. Equalize the sausages if you have any case hardening. If the sausage is good otherwise (the inside isn’t mushy, it smells right and tastes good) we vacuum seal the sausage and put it in the regular refrigerator for two weeks to allow the moisture to equalize throughout the sausage.
Other considerations
Spices: Spices can and should be adjusted to your tastes once you are comfortable with the process. We’re both really into using local ingredients and highlighting local flavors, so a few of these recipes will include ingredients that may not be available where you live. We recommend using similar ingredients that are locally available.
The meat: The quality of what you use will directly influence the end result. Proper field care and storage are a must. If you start a dry cure project with an iffy piece of meat, you’ll end up with iffy results. We mostly use wild game, and the pork and pork fat that we do use comes from a local butcher, sourced from small local farms. If we ever get into some feral pigs, we’ll be using that.
Recommended reading
We field a lot of questions about the sausage and charcuterie making process. One question that always comes up is what books we recommend to learn more about the processes. This fortunately, is an easy question. Charcuterie by Ruhlman and Polcyn has all the fundamentals you need to cure meats and develop your own sausage recipes. It’s the first book we bought on the subject matter, and it’s still the one we go to the most when we want to cross reference an idea.
The Art of Making Fermented Sausages by the Marianski brothers is a deep dive into the process of making salami. This book gives you the information you need to make salami safely, and a deeper understanding of how salami works.
We highly recommend both books, but if you are just starting out and could only purchase one, start with Charcuterie.
Advertising disclosure: As an Amazon Associate I earn from qualifying purchases.












“Best sausage I’ve ever had”